That I ~ even I ~ would ever, could ever, SHOULD ever post a how-to on sewing!
Well, I don't know much, but I learned how to put a vest together and, you betcha', I'm going to share that as well.
This Civil War Ball enterprise that we home schoolers are doing is very cool for me as it has afforded me the prize of learning to sew; something I always wanted to do. I'm so grateful for those who are helping me learn - there are many! And we are having so much fun in the process.
I've been working on three vests. The first one I was not really happy with, but I believe the fabric was difficult to work with, being very supple. The second one seemed a BREEZE to do, so I was rearing to go on photographing the third assembling.
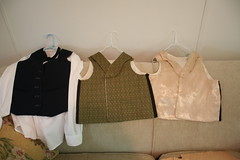
The vest on the left is what Michael wore to the Spring Ball. It was an altered, very badly by yours truly, man's vest. The middle vest is the one we like the best; the second of the three I did. The vest on the right is the first one. It's OK, but not our favorite.
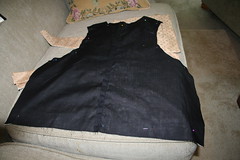
This vest was not quite so easy as the second, again, I think the stiffness of the fabric has everything to do with it. But I cut out all my pieces according to the pattern, and this is how it is assembled:
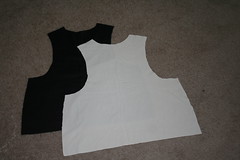
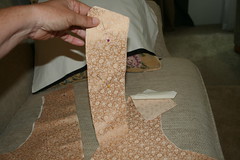
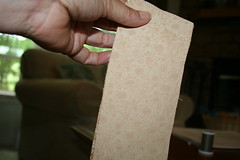
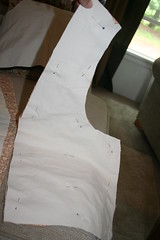
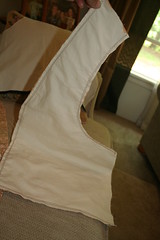
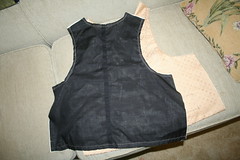
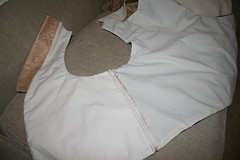
Here is the back piece and it's facing, just to illustrate that I cut out two identically shaped pieces for each facing and outer shell.
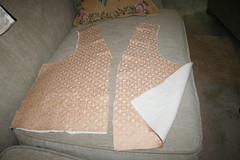
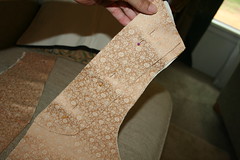
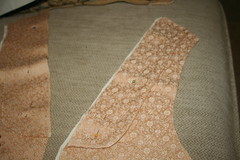
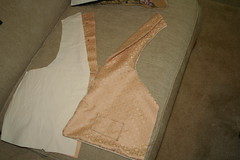
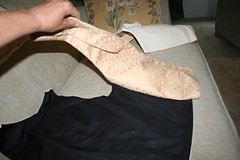
Here are the two front sections of the vest. I have laid all the pieces down as if they were sewn together, including pockets, with the facing in the back, as it would be if it were finished.
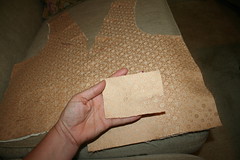
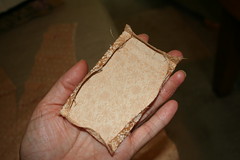
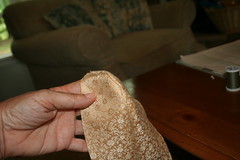
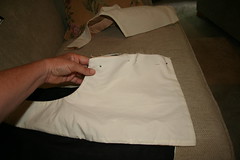
Here is the pocket. It needs to have all its edges sewn under.
My humble ironing setup, as I've no board to my name.

Here are the edges, ironed down and ready to be sewn.
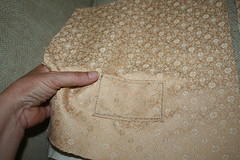
And now I've sewn the finished pockets to the vest front, on the bottom and the sides, leaving the top open. Some are sewing them all the way around, to be only decorative. Michael is planning on using a pocket watch, so needs a pocket.
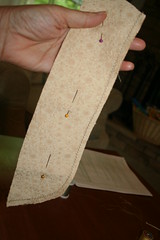
Here is a closeup of the pinned-in-place, dual-sided lapel.
I've removed it for sewing the two sides together.
But you must sew it inside out, so flip one side around and pin it in an inside-out position.
Here it is, sewn with the first zig-zag stitch, and still pinned.
And now with a finishing straight stitch just to the inside.
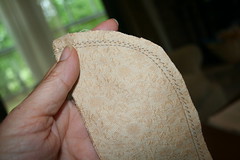
Turn the lapel right side out now.
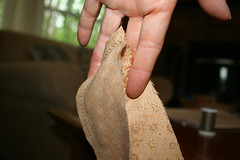
And go iron it flat. Make sure you work to get the fabric pushed all the way out when you iron.
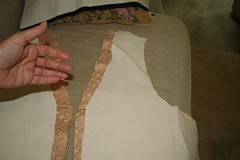
Now pin the finished lapel back in place on the front of the vest, making sure you have the top of the shoulder and the inside edge lined up as closely as you can.
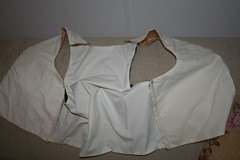
Now with all your outer shell pieces of the front finished, you are ready to begin sewing it all together. Pull your lining out from under your outer shell and lay it across the top.

You are going to sew these together, in an inside-out fashion again.
Here is it pinned and ready to be sewn.
Sew only the sides that will not be joined with other fabric. See the top of the shoulder and the sides will be sewn to the back pieces, so leave them open.
Now you can turn it right side out.
And give a careful ironing.
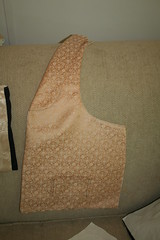
Here are the two front pieces done and ready to be sewn to the back.
Again, you are going to sew the back liner and the back outer shell in an inside-out fashion.
REMEMBER - don't sew the top of shoulder or the sides that are all going to be sewn to the front. Here it is done. Now turn it right side out and iron it so you can join all the pieces together.
You are now going to sew one side of the back piece to its corresponding front piece. Lay the pieces out as if you were looking at the back of the vest, opened up and facing down.
Then fold the front piece back so you can pin it, and then it is ready for sewing, so go ahead and do that.
Now do the same for all the remaining open joinings; the other side, and then to two shoulder tops.
In Civil War era days they left the seams this way so that alterations could be done easily. A modern vest would not be finished this way, but here it is period correct.
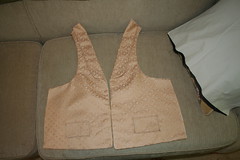
All done!
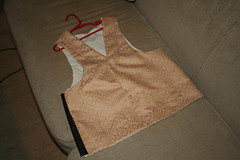
Not perfect, but that is DEFINITELY a vest!
Faith
.
No comments:
Post a Comment
I always enjoy hearing from others. If you become a regular commenter, I'll assume you are being friendly and pretty much comment regularly right back. :o) God bless and have a terrific day!