A special thanks to Norm, who motivated me with encouragement and got my brain in gear.
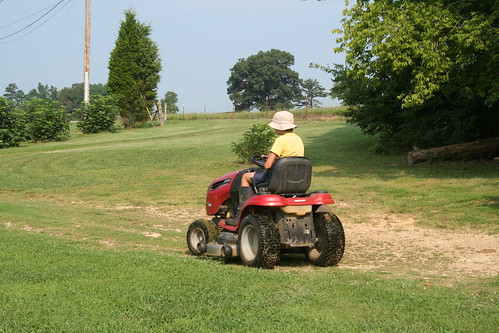
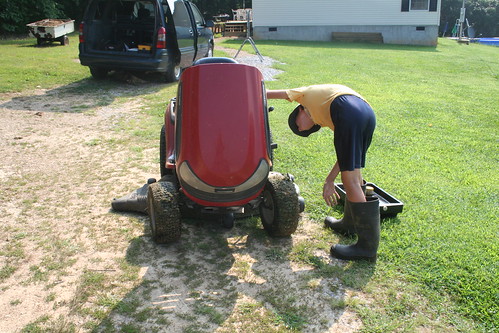
Find a level place and make sure your engine is warm so the oil flows out well.
Remove dipstick, so there is free movement of the oil as it flows out of the bottom of the engine and you don't hold it up.
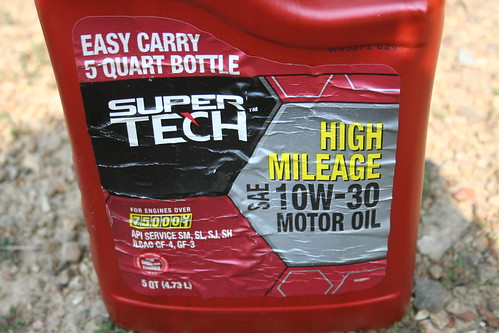
Get the right oil, according to manufacturers instructions.
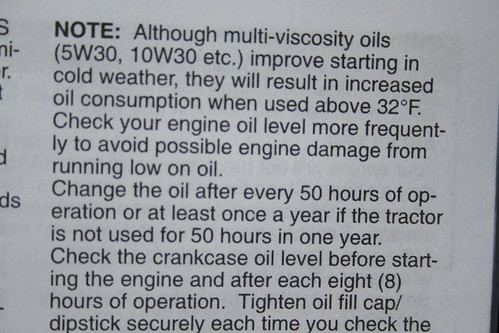
We did not have enough SAE30, but SAE10w30 was OK for winter usage. We will just have to monitor it to make sure it does not burn off and run low before we expect it to. So we had 1.25 quarts of the 2 quarts needed for our particular engine.
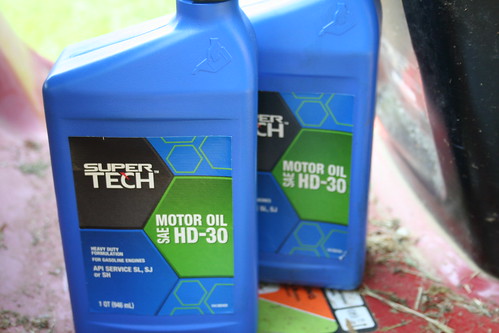
We added in the other .75 quarts with the multi-grade oil.
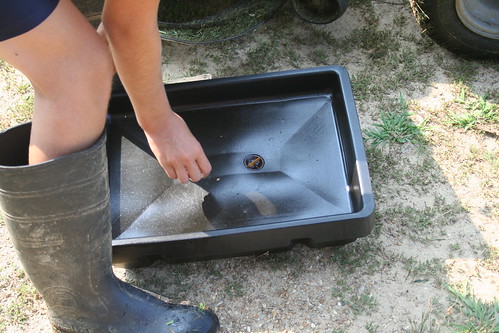
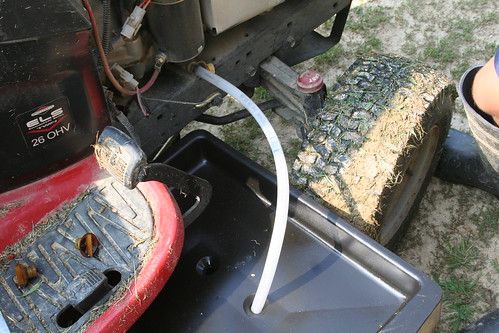
Get your oil catcher ready. This is nice, you let the oil flow into the holes, cap it up, then haul it off to be recycled.
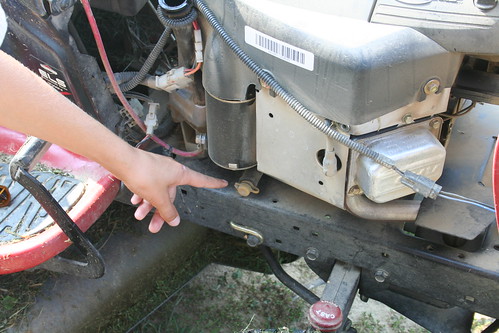
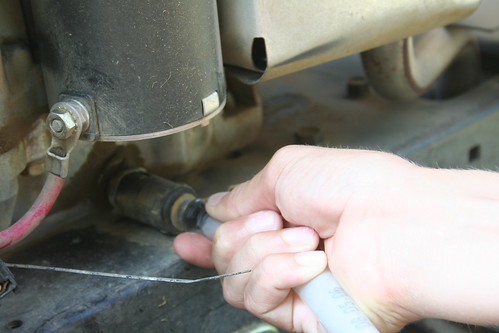
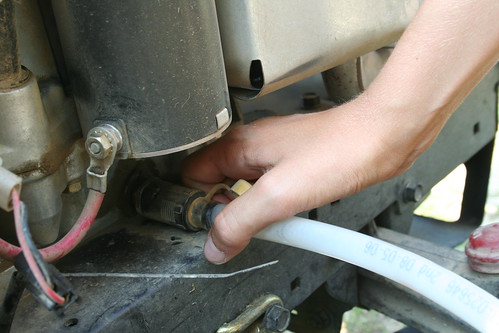
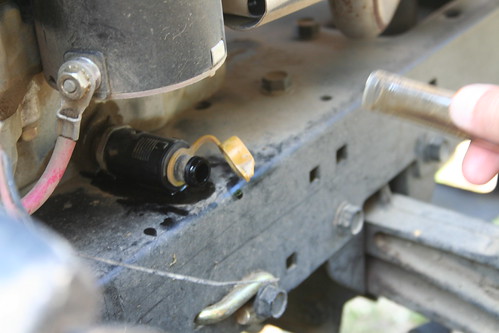
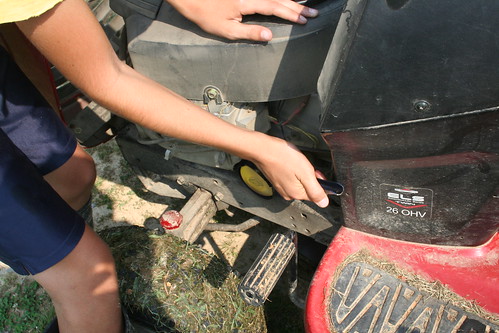
Here is the location of the drain on our engine.
Flip open the cap.
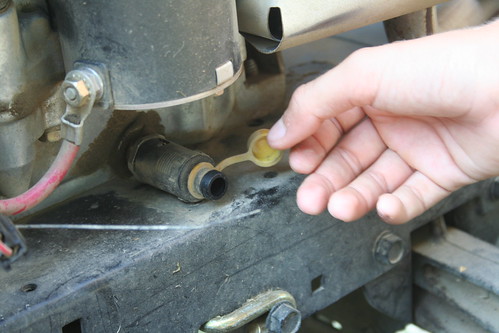
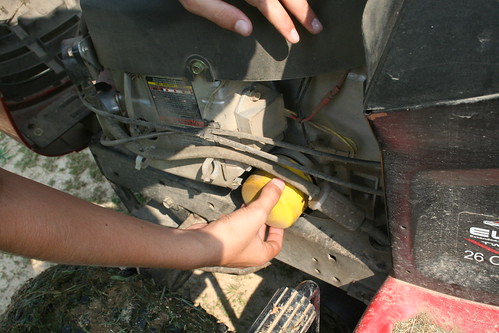
Insert a drain hose to run from the engine...
neatly down into the oil catch container.
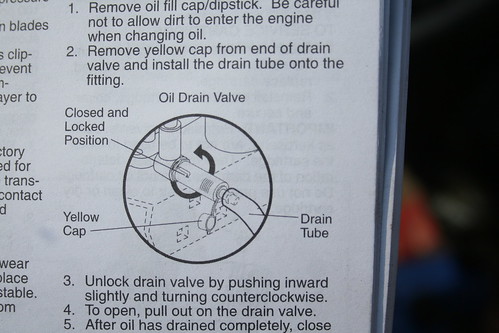
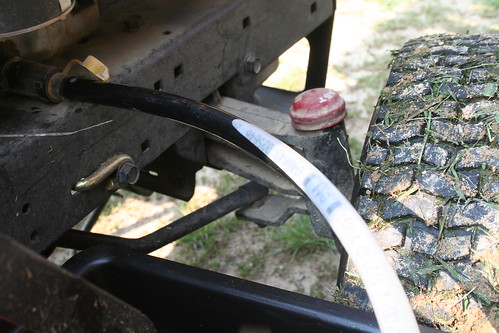
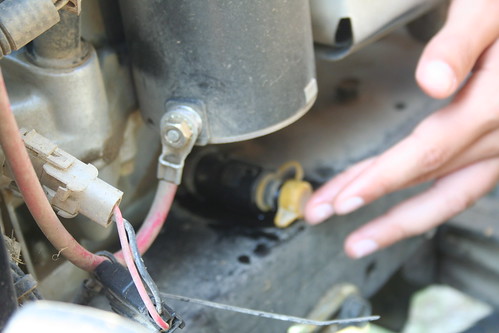
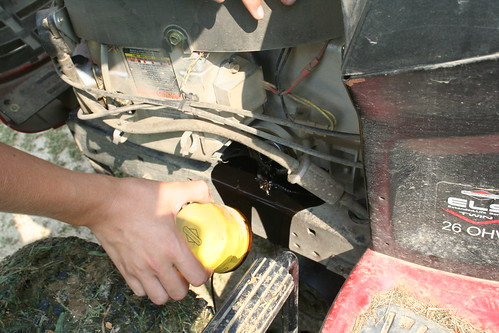
Here is how you then open the drain.
Hard to see Michael do this part...
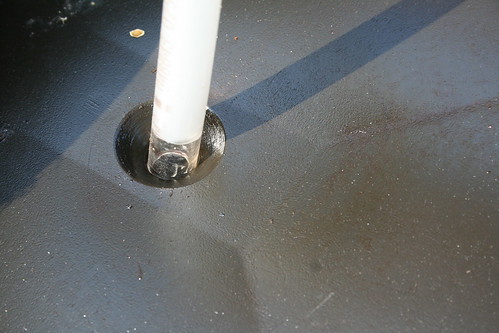
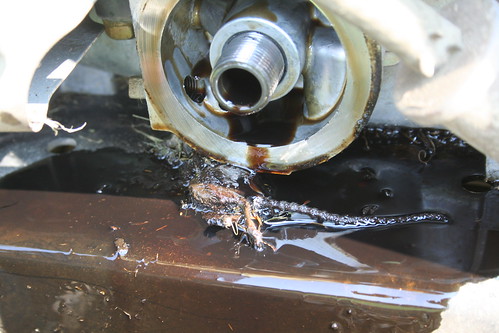
And you can see the old, dirty oil begin to flow down. It's very dark and filled with dirt particles.
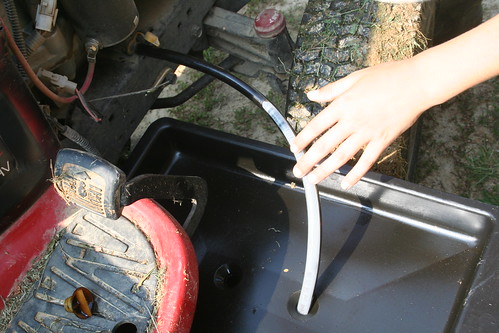
We let it drain about 5 minutes.
Now reverse the process. Close the drain, remove the hose, and close the little cap.
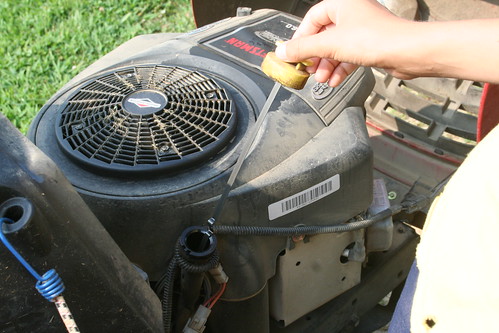
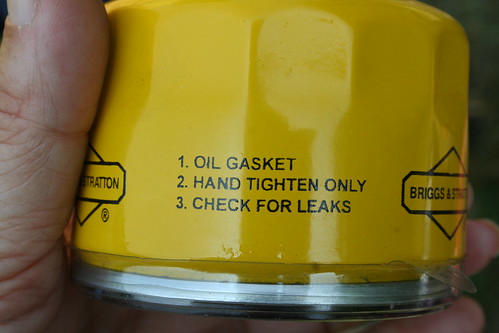
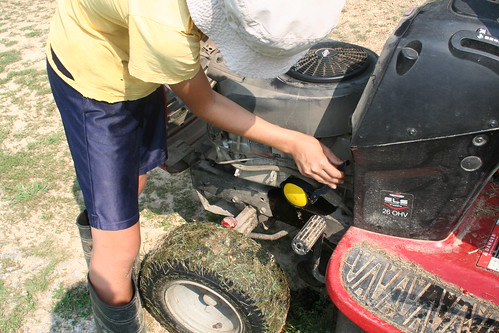
Now it's time to change the oil filter. The new one is ready for replacing, up on top of the engine.
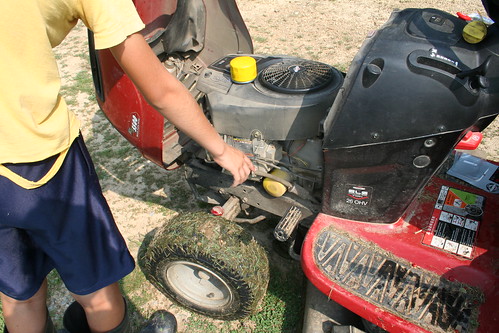
It should be just hand tight. Unscrew, counterclockwise.
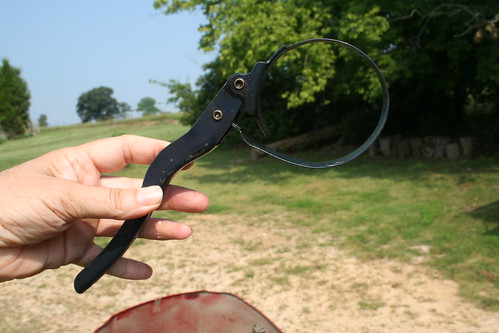
It was a little tight for Michael, so we got out the oil filter wrench. These come in different sizes for various filters on many vehicles and equipment. Luckily, we had the correct one we needed.
Push it on and gently rotate the filter until it comes loose.
Now it's loose and Michael can just unscrew it easily.
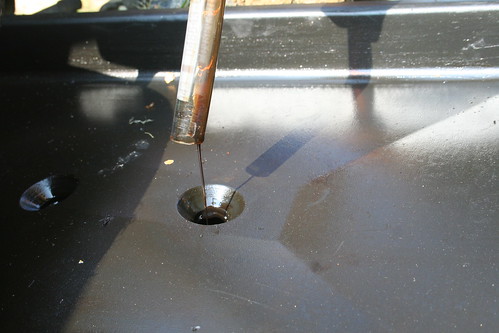
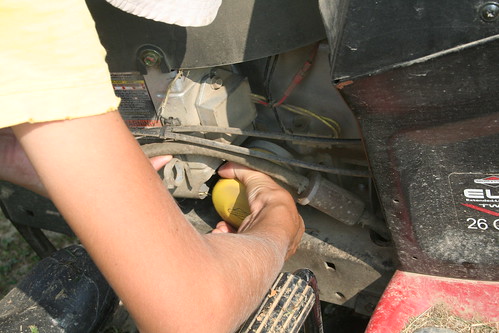
Here is where we discovered the levelest spot we had was still not level enough. It would have been better to have the drain spout on the lower side. Some oil is going to remain in your filter no matter what, but additional oil had pooled up and flowed out as we removed the filter.
We also had a surprise.
A dead mouse. They are everywhere in our cars. The mice have thrived this year and we are finding them in all the vehicles, even the mini van, which drive daily.
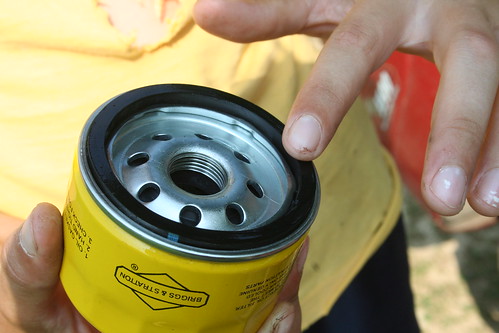
Make sure you don't get dirt or debris in the oil filter or the filter opening. You want that to remain nice and clean.
Take the protective cap off.
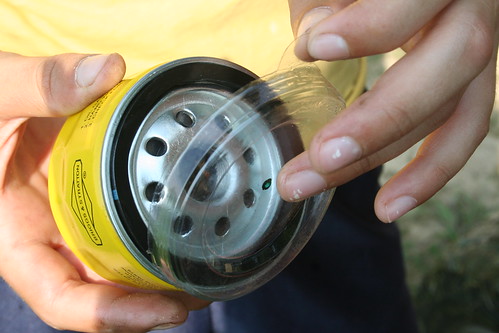
Gently lubricate the gasket with a bit of oil on your finger.
Then screw the new filter on, clockwise, until it's nice and snug.
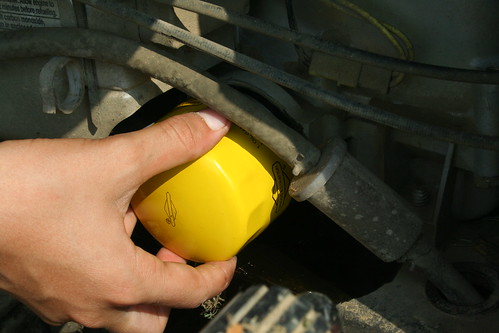
Michael felt more comfortable using the filter wrench again.
You are NOT DONE!
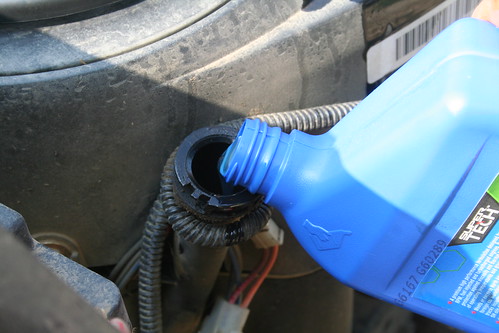
Don't drive off until you've refilled!!! We didn't use the funnel, as it had dirt in it. So we poured very carefully. Won't hurt much to get oil on the exterior of an engine, but it can smell if it burns off when your engine gets hot.
The new oil is light colored and clear.
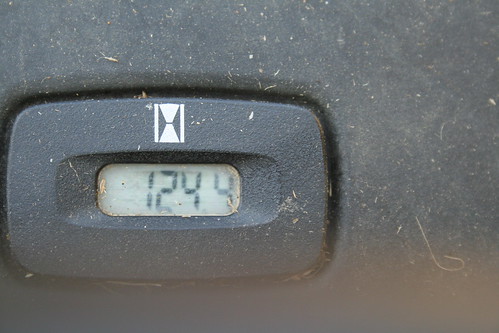
Here is the indicator. I am guessing that since my husband left us the same year we bought this, that it never had the oil changed until today. Bad. I should have been more on the ball than this. So many things to think about.
I hope this little tutorial is helpful. Be sure to check your owners manual to get specifics for your mower. And these basic instructions work on a car as well, just a little variation.
A little known fact about me - I produced and starred in a car repair video way back in the 1980's. I used to be able to tell you every make, model and year of every vehicle on the road, and could tell you how to repair them. It's been a long while and I've forgotten much.
Cars were much easier to work on then.
~Faith
.