.
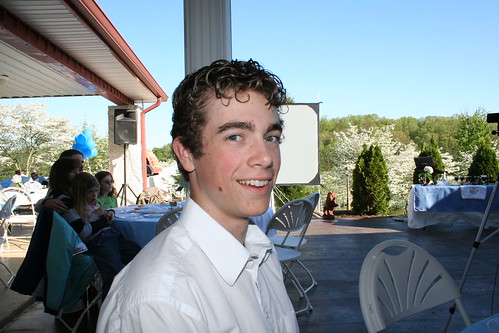
After a lovely Friday of work, school, and more work, we went to town to try to get in as much office cleaning as we could before heading off to meet friends and see The Diary of Anne Frank, in which several of our friends are performing.
They did a fabulous job! It was even better than the one we saw a couple of years ago, and had cool audience participation as though we were in a prison camp - with guards all around us. They nabbed Josh, drug him out and shot him. However, in his next life, he also became a prison guard for the rest of the play. Lots of sniffles in the audience. It is heart wrenching, knowing what evil man does to one another, but I was determined not to run any mascara, and I was thoroughly successful - lots of focus on chewing my delicious, if rubbery, mint chewing gum, during particularly touching moments.
My dashing young man and I went to Taco Bell afterwards, had a great time chowing down on a 12 pack of tacos and talking about the evening.
Today was a day of ups and downs!
I was all set to break myself into posting pics again, but I actually broke my camera today. Yes, I had a good cry over it, too. Boohoo!
This was the first day Michael and I have stayed home all day in - I have no idea how long. It was strange, but just a bit like Heaven.
The weather was wonderful. I baked and glazed a ham that had been oinking at me every time I opened the fridge.
And about the time we got around to doing anything else, I went outside with my board, my borrowed wood burner and a nice glass of iced tea and proceeded to torture the Bible verse plaque I mentioned.
Out on the front porch in a comfy rocking chair with birds singing madly all around.
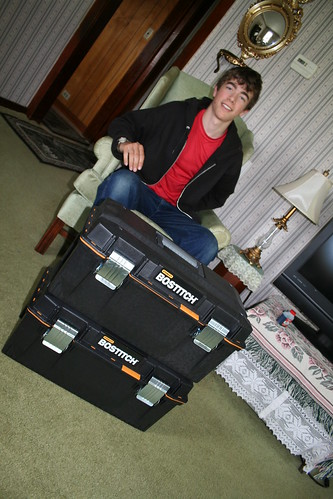
Opening the kit...
Perusing the selection of tips...
Cool! It has a soldering tip as well. That will come in handy later, while working on Michael's Airsoft gun modifications. I actually decide that the soldering tip will work the best for my lettering as well.
It's been a long time since I did any wood burning. The reasons it has been a long time came flooding back. Either I always have low-performance tools, or it takes a maddeningly longer time than I have the patience for. But I was determined. One letter, two letters...
And, in my exuberance, I flipped that board around - knocking my camera right off the table. In hind sight, if I'd just never gotten up to go check it, and just pretended it never happened, I'd have been a lot happier.
Michael arrived within moments to see what his mother was sobbing about and did his best to take the lens apart and fix it, but it was pretty munched.
No way around it, if the body of the camera is OK, I've got to get a new lens. After this point, most of the photos are going to a bit poorer in quality, as my good camera is now merely collecting dust.
Anyhow, we had a great day despite that little tragedy.
We planted 3 blueberry bushes that I took with me when we left the farm, as well as some blackberry plants in pots I'd brought along. Here are some of the first photos of our current digs. Speaking of digs... If at all possible, you must enlist help to dig into the red clay.
Here's the sweet little picket gate that is the passageway between the garden area and the yard. Is this not adorable? Not sure what that shrub is, but it's going to be some sort of fruit. And the peonies smell wonderful.
Yes, the man child is hard at work as I bring out supplies and another shovel. That's a very old apple tree on the other side of the fence, along the road.
I cried "Uncle!" and finally forked over for peat moss. I think I have a tendency to expect things from plants they are not ready to give. "You have dirt, sun, rain, darn it. I am not going to dump another 5 dollars because you want more than that!" But after quite a few failed blueberries... I bought the bag. This was about 10 bucks and will probably do about 5 bushes. I've heard of people using an entire bag in a really big hole, and even planting bushes directly INTO the bags, but I asked a professional blueberry guy what he did, which was mix about half and half. So that's what we are doing.
Right there in the hole with our stirrer.
OK, this one was not mixed well enough. Plant was removed, earth mixed up, and plant replaced.
Then we mulched the three bushes and sat down, imagining sweet, juicy blueberries, which we will probably not get to eat, unless we dig them back up again, as this is not our home. However, SOMEone SOMEday will have some nice berries.
We put in some tomato plants, Grape, Roma, and a Better Boy or something similar (lost the tag).
The owner, unbeknownst to us, also gave permission to another person to run some cattle on the nine acres and will be just beyond this fence. He put in some electric fencing to keep them back but, in the interest of tomato safety, we will probably move the wires just a little bit further away from our succulent tomatoes.
I don't want to put much in the ground, as we don't know how long we'll be here, but I had no where else to put them and I can always dig them up again. All our friends are already overflowing with plants we gave away.
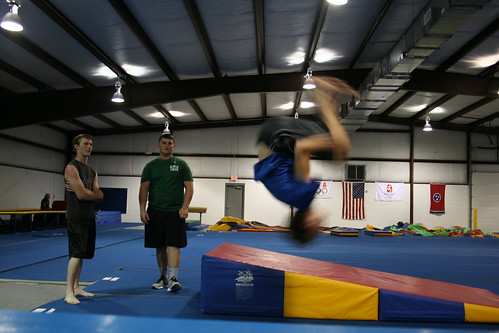
We had a great time cleaning out the loft in the barn, getting it ready for a hangout place and workout area for the guys.
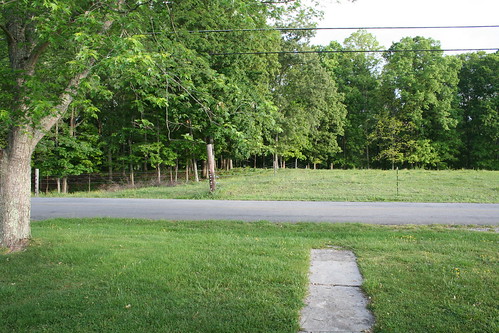
Lovely view, lovely day. Looking toward the mountains on the walk from the house to the barn.
The whole bottom of the barn is about like this. Difficult to navigate. Nothing of value, just stuff. We hope to sort it, stack it neatly, and be able to utilize some space here and there.
Heading up to the old hay loft.
This is to be Michael's indoor hangout area and workout room. But it needs some CPR first. First thing is to remove all the poles that are stretching across the rafters, so we can get some head room. They mostly used this for drying tobacco, many years ago, so they are all over the place. I have no idea how old this hay is.
Looking down through the maze of rafters and tobacco poles.
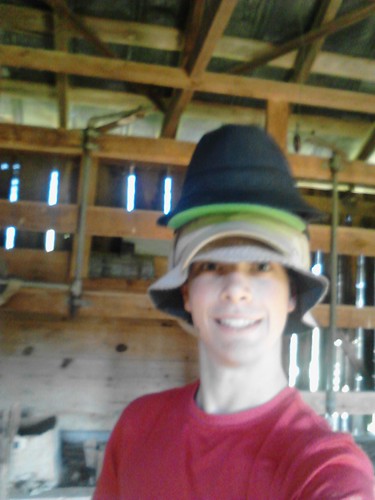
I've already been moving some of the bales that could still be grasped. Michael is putting off going and getting the rake and broom, surveying his domain. Remember Mikka? We had to send her away to a friend for a couple of months, but she's back with us.
That side over there is rotted through, as the roof is missing in a few places, but when clear, we'll know exactly where NOT to step. Plus it will dry out more quickly and rot more slowly.
Boy, I wish I could move like a cat!
Handing tools up through the hay loft door. Of course he jumps out. Using the barn stairs and regular door would be so boring.
Coon poo? It's everywhere.
That's better!
We can use this old hay for mulch when we need it, so we're keeping it near the loft door for now. When it's gone, he'll have another 100 square feet of space to use.
One rotted area, and one broken rafter over here, means not a lot of use unless we decide to repair it. there is enough old spare scrap wood laying around that we could do it, but the roof hole remains, so it would only be a temporary fix. It would last beyond our stay here, however.
At this point my head is stuffy, I'm sneezing... what's going on????
Great Scott, Batman! I think I might be getting allergic to something. I could not believe how badly my sinus passages behaved while we worked in the barn! This is just not right. I don't DO allergies!
After enjoying the sound of a short rain on the metal roof of the barn, we headed back up to the house. Michael tried his hand at wood burning and worked on one of his Airsoft guns, getting ready for his next team outing.
I cut my first bouquet of peonies here, they smell amazing!
Grateful for ports in storms,
~ Faith
.