Let me see if I can get in a hilarious episode of, "Up Go the Greenhouse Ends!"
But first, a message from our sponsor:
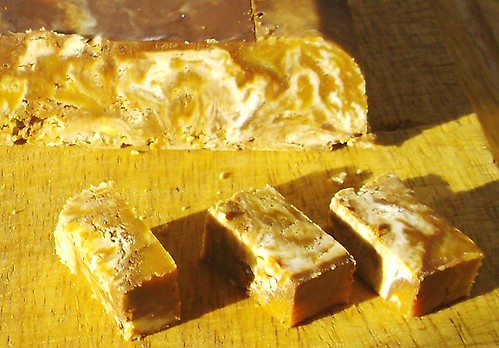
Leftovers from the annual candy apple night made for some nice holiday additions to snacking.
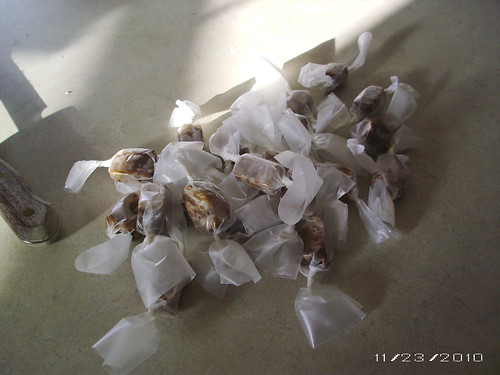
Tasty! But I was good and did not eat much of it. Yet.
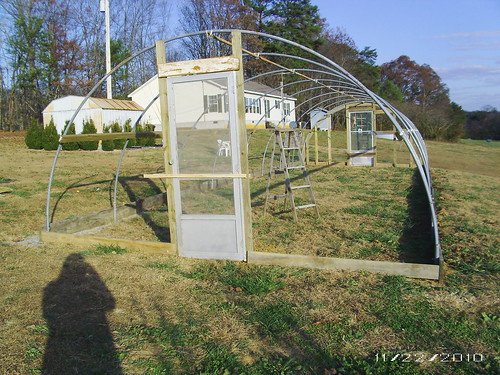
Here is the first end of the greenhouse.
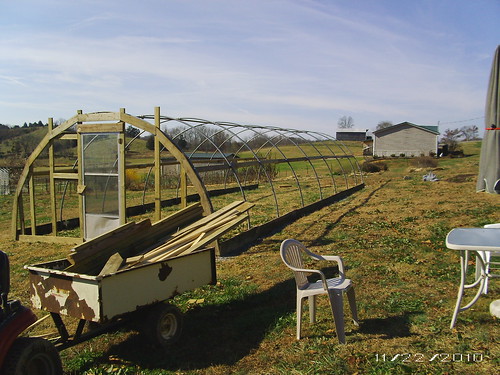
This is a very low budget project. The hoops and side boards, and much hardware, I had purchased almost 10 years ago. It was a used greenhouse that the kids and I disassembled and brought home. Complete back then, except for ruined poly, it cost me 150 dollars and several days of labor. It has sat in the field since then, the end walls rotted out, the hardware rusted.
When I remarried my DH, it was not something he wanted to spend any money to put up, so a lot of it was wasted. But I had hope for many years, and Michael and I are so excited to pursue this now.
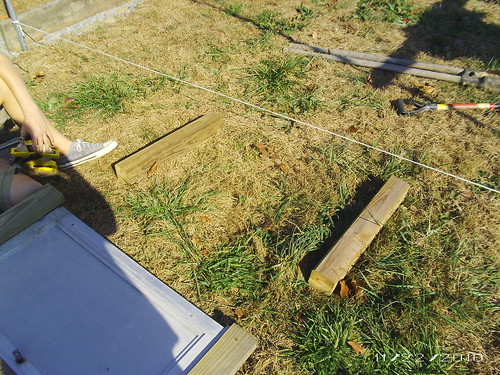
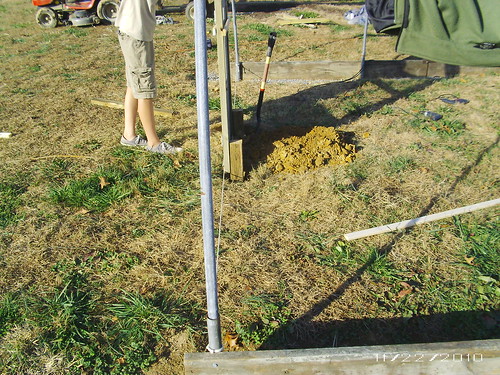
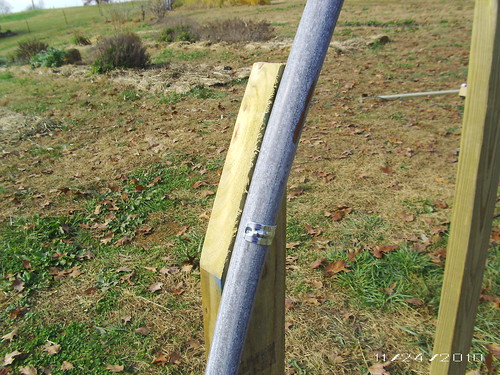
The straight pipes that hold the hoops up were immediately sunk into the ground when I brought it home years ago, and the hoops were placed in them as well, so I can't show you how those go in, but you drive them into the ground at a slight inward angle of about 85 degrees instead of 90 degrees perpendicular. Trust me on this. One of these pipes we had to reset 3 times. By the time you've got that much clay packed into your pipe, using your head as a bludgeon to get that pipe in the ground may cross your mind. If so, take 2 Valium and go watch Mary Poppins.
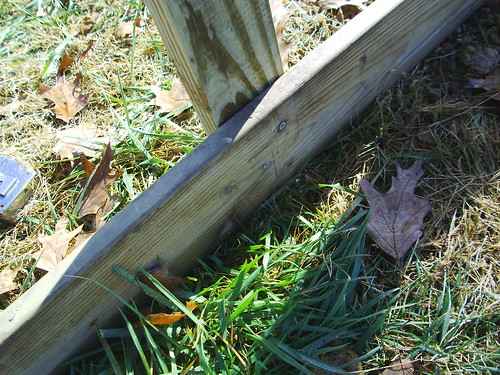
The hoops just set inside them, resting on the bolts that hold the side boards you see in the next picture.

It took Michael and I a long time to try to fit the boards back on as they used to be installed, lining up the bolt holes. We finally gave up on some of them and made new holes. The boards are also bolted together to form one long run.

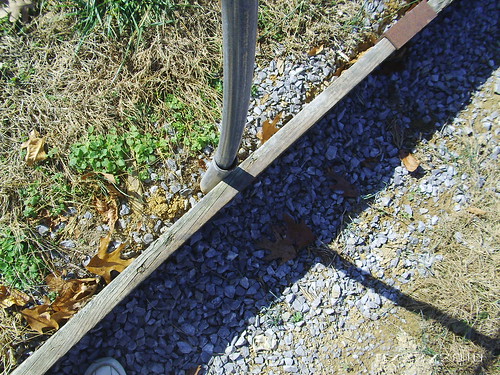
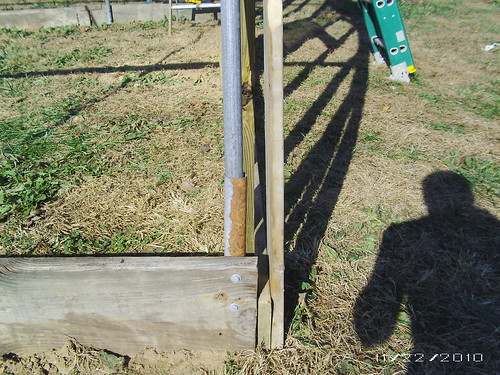
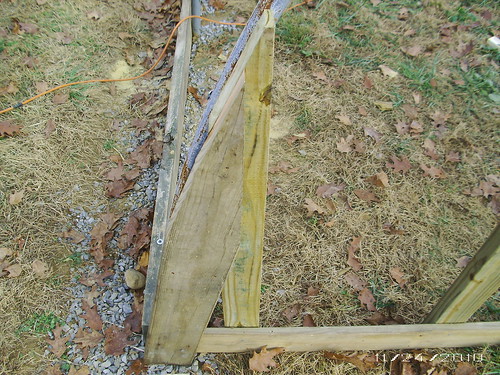
You might remember our work last year on two French drains, the pool and the side above the greenhouse. Here is that upper side drain.
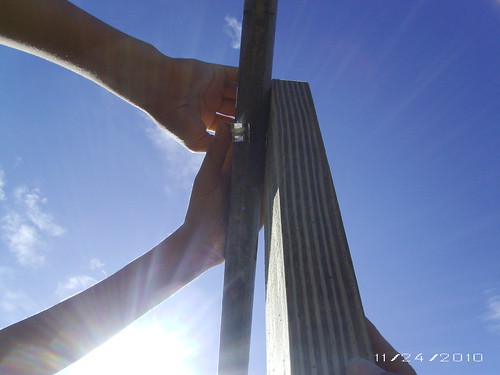
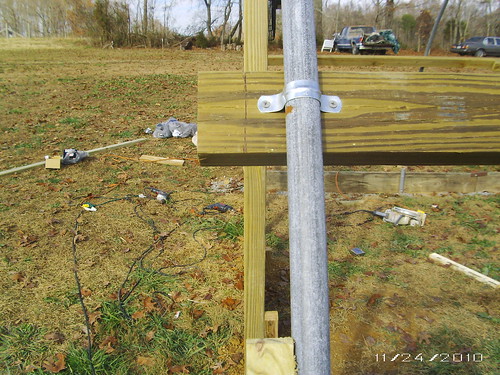
The top center purlin consisted of 3 sections of pipe, 45 feet long. I had shared on this post about putting that up.
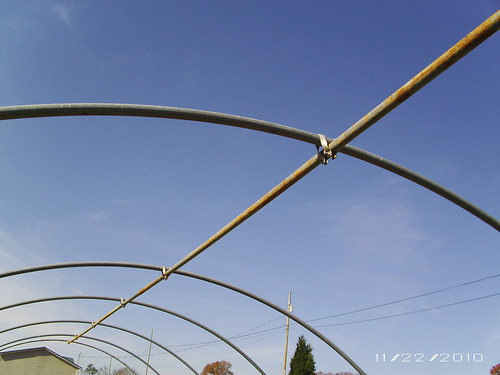
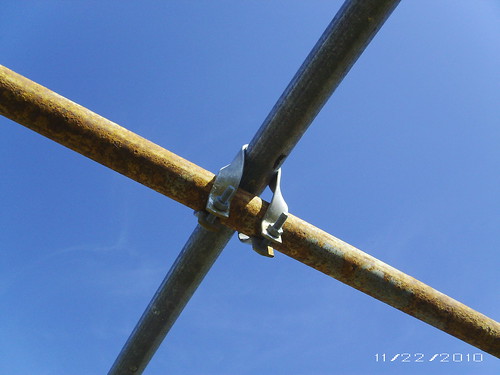
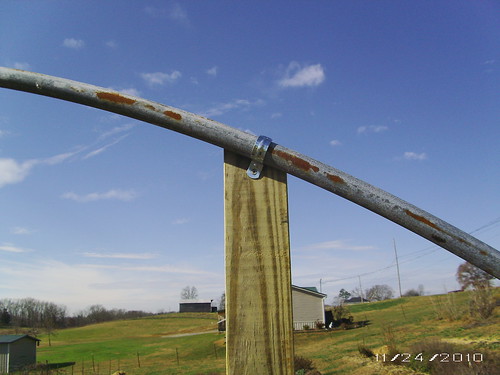
The purlin clamps that contained rusted bolts I had to cut through. Here they are with fresh bolts. Again the new hardware for the project was about 75 dollars, but I'd bought most of that over the last year, a little at a time, knowing greenhouse building time was coming near.
We had nookered away money over the year to buy plastic and what wood we needed. The plastic was 100 dollars, and with the scrap wood we'd collected and had been given by dear friends, we only had to spend about 50 on that. Here is where it went to begin with.
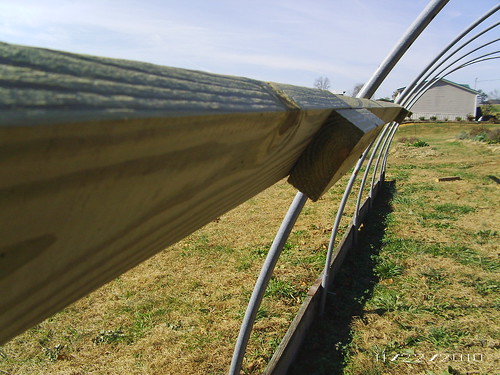
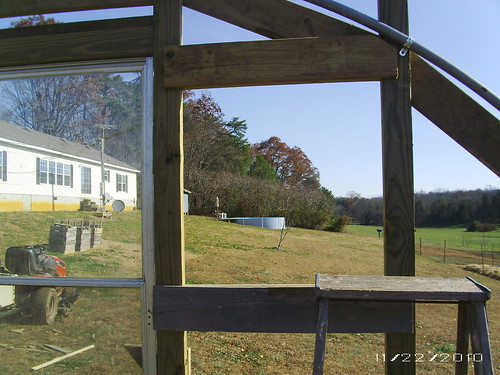
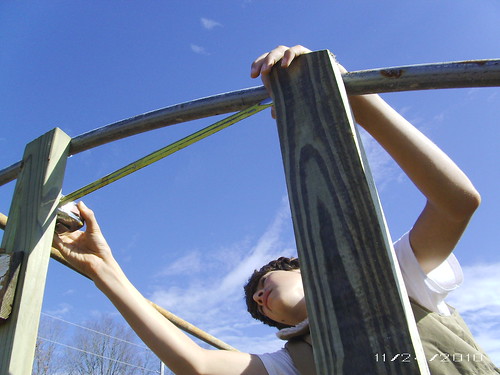
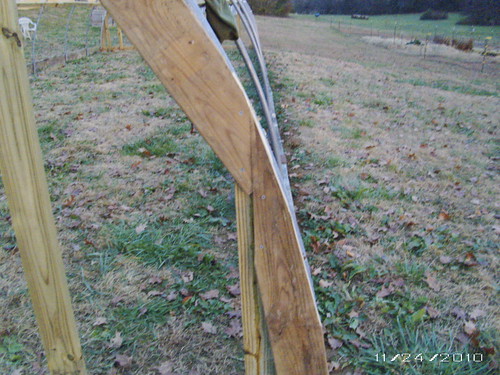
Two rows of purlins down the sides. I was going to go cheaply, buying 2x2s, but turns out you can buy 2x4s just as cheaply, so we went for sturdy.
Now, I realize we need to turn them to the outside , but here is how we put them up out there. We wanted to be able to use them for power outlets, hanging tools by, plasma 3D TV for watching reruns of Gardening Naturally (OK, maybe not), and such, so we chose to place them at chest height and affixed them with pipe clamps,
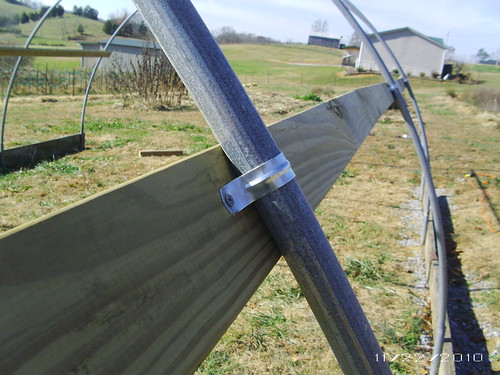
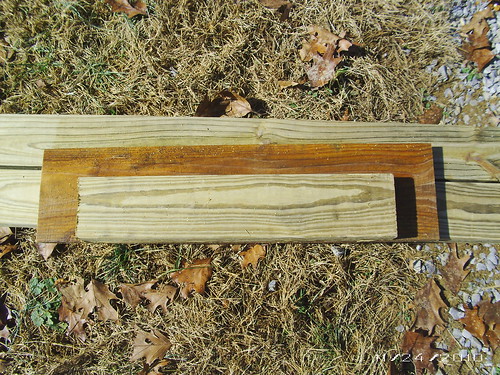
and spliced them with pieces of 2x4. I would like to say I held to organic standards, but at this point, income outweighs my capabilities for achieving that. So the lumber is treated for longevity.
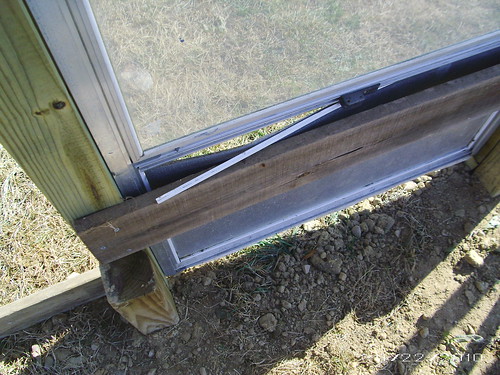
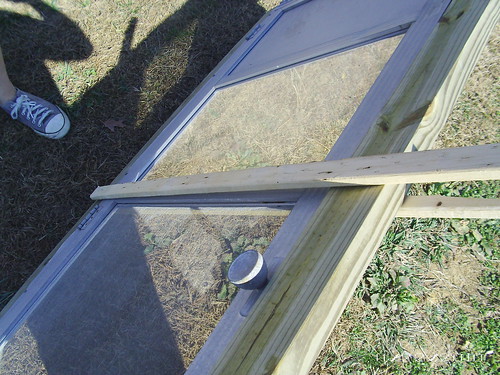
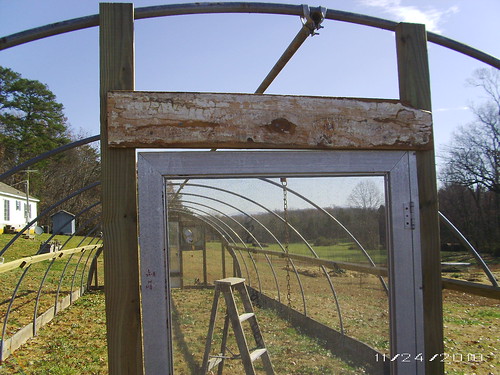
Here are a few close-ups of the first end.
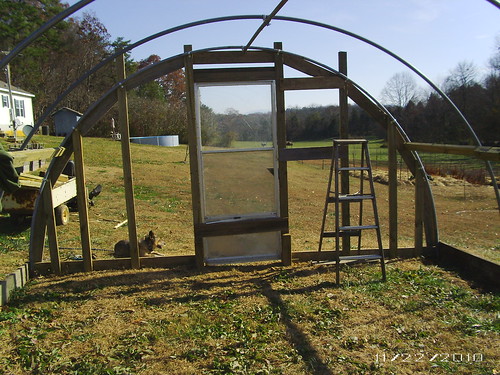
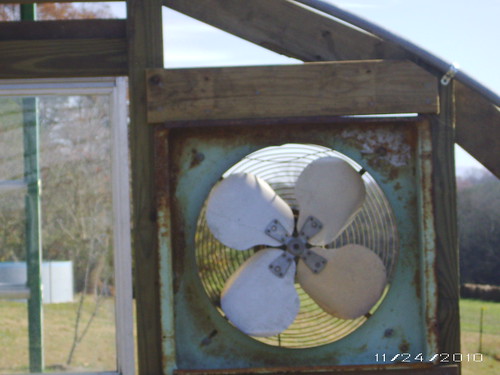
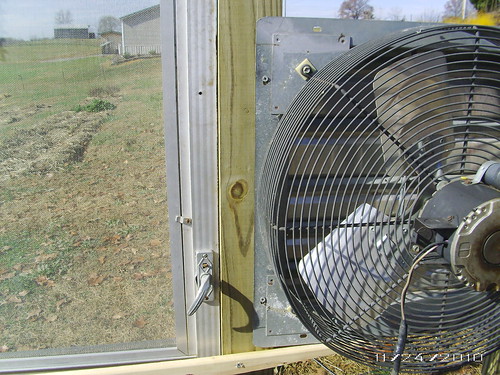
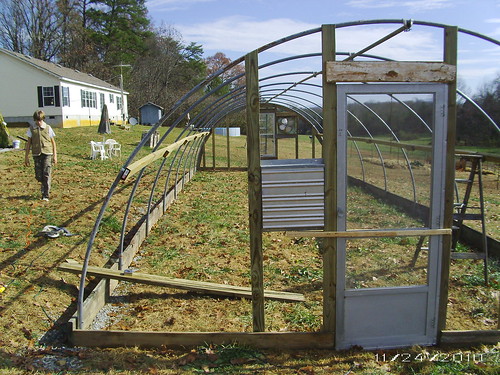
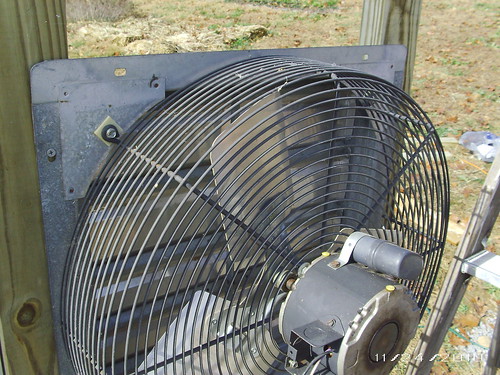
Here is the opening for the intake fan. The cross pieces also proved necessary for Michael to scale the thing and work up top. We were not sure which side the fan should go on, so we chose this side, but made sure to place the studs on the other side the same, so if we must switch, it can be done fairly easily.
The boards across the door are to keep it from swinging around during construction. The doors were obtained at a thrift store for 5 dollars each. I love that place. They each need repair, but we can do that.
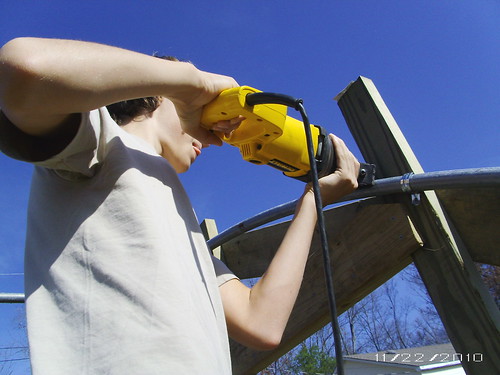
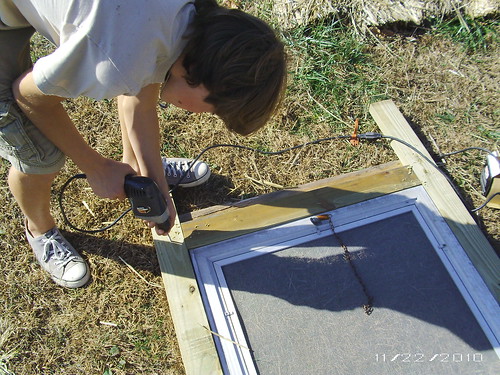
On our first end, we were figuring it out as we went along. We left the studs up, so we'd know exactly how to trim them.
We did not do it this way on the second end. This was too difficult. We had to borrow this reciprocating saw from my dad. It's sort of like holding a sideways jackhammer, rattling your brain and causing me to believe I had motion sickness, until I finally became aware of a flu bug attack that rendered me nearly worthless for a day. Agony.
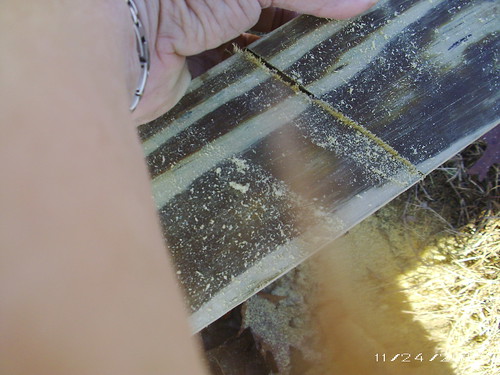
Grinding off any sharp edges that might damage the plastic.

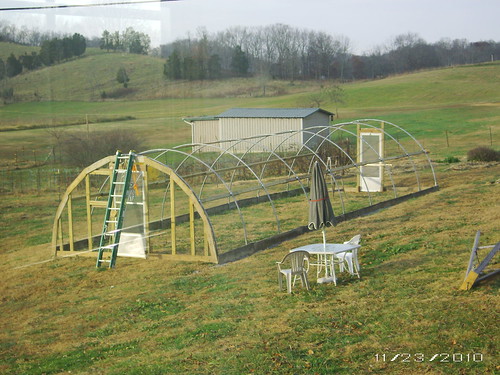
A couple of days later, we are ready to begin the second end, making a few changes after learning from our mistakes on the first end.
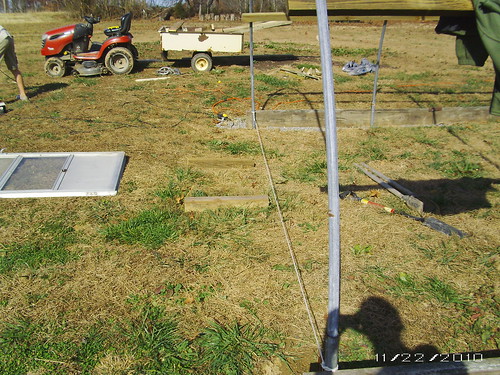
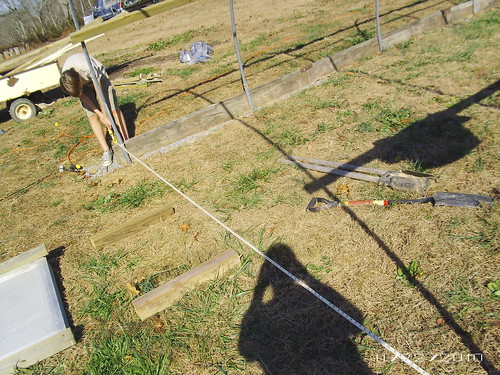
A rope marking the straight line between the last two hoops, where the wall will go.
We begin by creating a frame for the door, as that will be centered and posts sunk into the ground. We found that each door was different and that caused our plans to evolve. So beginning there and building off from it made the most sense to us.
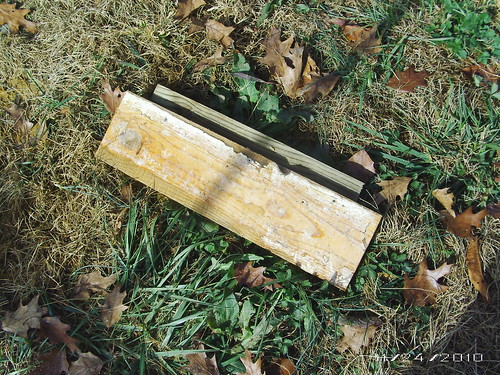
This door happened to have one long hinge, so we fastened a 2x4 to that hinge first.

It was kind of munched, so we did a little cosmetic surgery.

Then we cut a 2x4 brace just 1/4 wider than the door, and used some gift scrap lumber to use for a brace holder, attaching the two.
As we'd been planning this out in our minds, we (I) were assuming the end wall studs would be positioned the same direction as you see normal wall studs. I neglected to think about the fact that storm doors are rarely attached to wall studs or inner door frames, but instead are attached to the outside facing of the house.
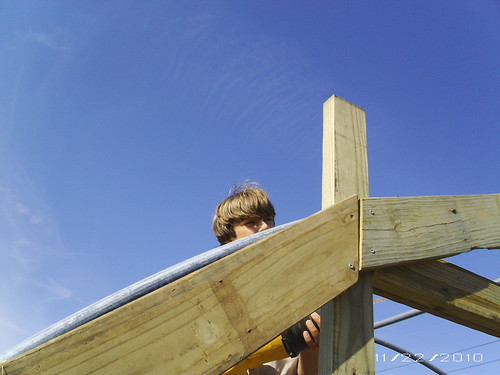
That little fact completely changed the wall construction from what we'd planned. The studs had to be turned to lay flat along the wall. That means attaching them together becomes more challenging. As we did not have money to spend on more hardware to hold studs fastened together this way, the extra gift lumber was a miraculous thing. Everywhere we needed hardware, we simply cut a larger piece of wood to attach to the studs, and that fixed our problem.
That was probably confusing, but that was pretty much how we went through this project, confused and thinking on the fly.
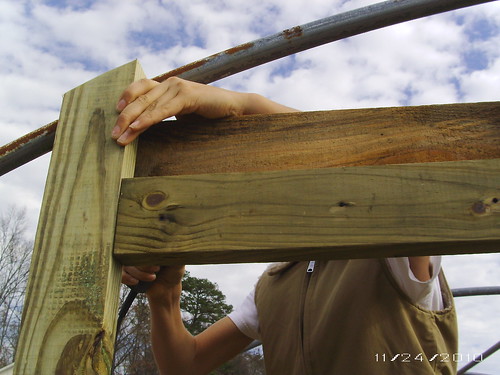
Here, I hope you can see Michael doing just this. The actual 2x4 stud, just the right length to allow the door free movement between the two future upright studs, has a backer board that extends beyond and is screwed into the future upright studs on their faces. This makes it all one complete unit.
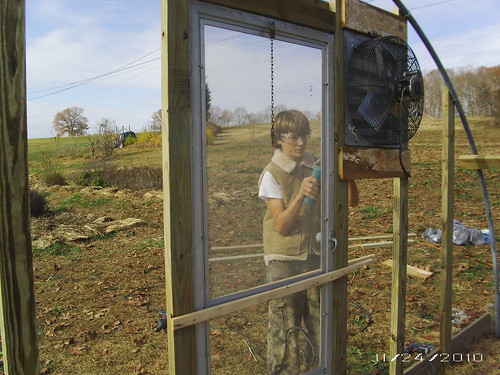
We temporarily affix two pieces of furring strips (1x2) to each side of the door in the frame to hold the frame at the right width and to keep the door from swinging as we continue on.
Now we know exactly how far apart to dig the holes to set the posts.
We measure the hoophouse opening to find the center point.
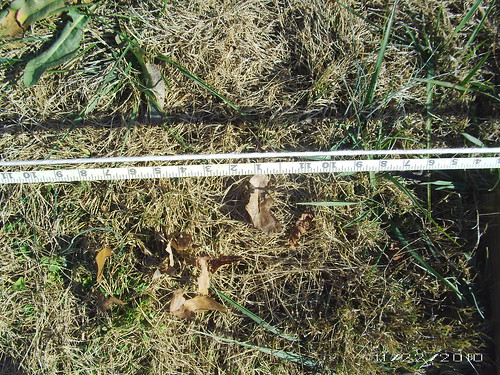
And lay the short posts down, pointing to where we'll dig the holes.
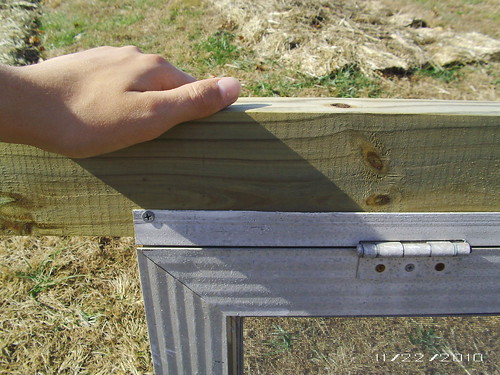
A quick check at the first end reminds us that the front of the posts will need to be flush with the front of the hoops.
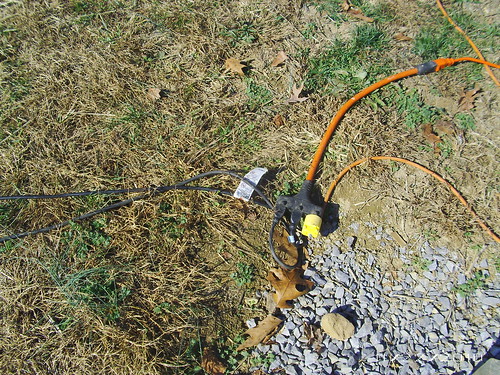
When we did the first end, the time involved was ridiculous. All our cordless tool batteries are dead, so we are back to using corded tools that are quite old, some of which I found at yard sales. They are stiff and changing out bits takes a long time. We also had only one extension cord that actually runs out to the electric fence we had to keep dragging over and using.
Not only does my mischievous little filly know EXACTLY when that fence is unplugged and immediately comes to test it, but we spent a good 75% of our time just changing cords and trading off drill and driver bits.
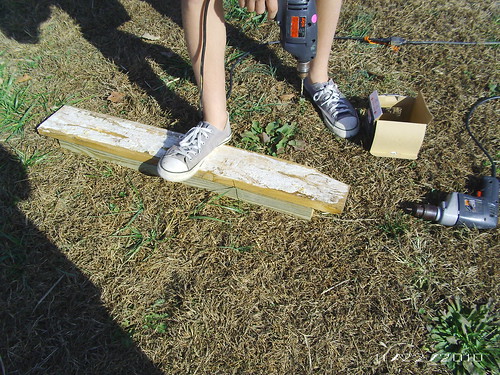
This time we borrowed cords and such, pulled out another old drill, and had quite an array out there. But it greatly reduced our wasted time.
Either you are laughing and falling out of your chair by now, or you are incredibly encouraged to jump into projects no matter what odds you face. Maybe both. Either one, it's all good.
The holes are dug.
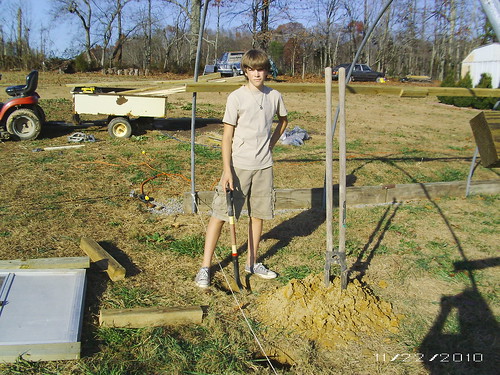
The posts are screwed to the door frame.

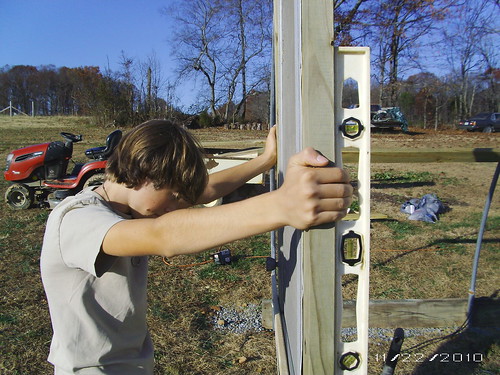
It is set in, making sure the posts are aligned with the rope.
And leveled this way.
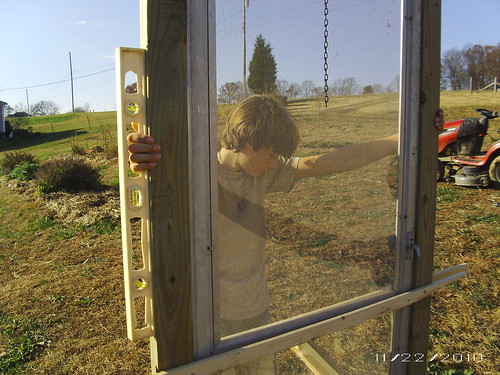
And that way.
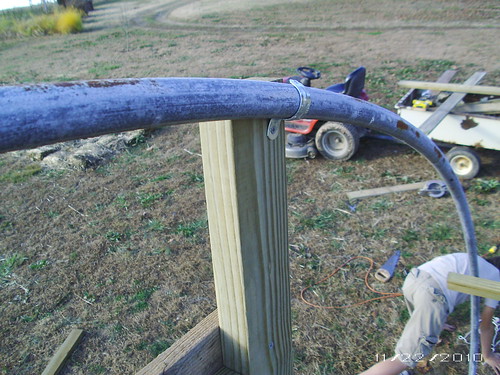
And affixed to the hoop with 1/2 pipe clamps. The regular pipe clamps are found in the PVC water pipe section, but the 1/2 pipe clamps are in the electrical conduit, gray pipe, section. Lucky us, the 2x4 came just to the top of the hoop. Whew!
Two other sources of lumber for this project were the old deck boards we'd removed a couple of years ago and replaced, and the wood I'd been slowly adding to in hope of getting a porch built off our sliding glass door. That pile is getting smaller. But this project is more important.
So deck boards not safe enough for walking on were just fine for the bottom boards we put on to finish the work for the day.
Next morning. Looks so pretty! Beauty they say is in the eye of the beholder, and this is so pretty to me.
What? This first end was all perfectly square and level before! What is that gap in the fan opening?
And look at this door that hung so true just yesterday!
Maybe it could have all been avoided by setting everything on blocks or in cement, but this a a budget enterprise, so this will have to do.
Well, enough crying over spilt milk.
We attached the outblowing fan temporarily to the door frame so we would know how far apart to set the next stud.
We hold the next stud up to affix it top and bottom. At this point we are beginning to wonder about working so hard for level and square when the darn structure keeps dancing all over the pasture all night.

We mark the board with a pen, following the curve of the hoop, and cut it.
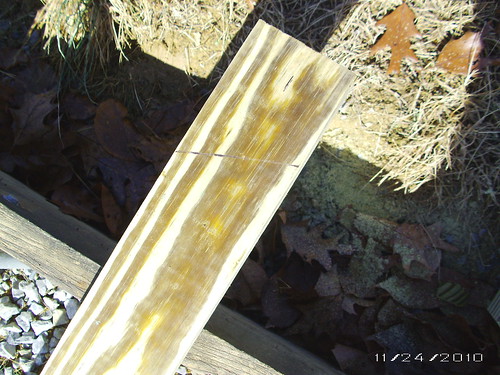
I usually nick a little bit off, so the curve is better.
Then we use a 1/2 pipe clamp to attach the top,
And screw it to the bottom board.
Then we move to the other side to make an identical width stud placement in case we want to move the fan down here as well. Top...
and bottom...

Yup, we're still leveling.

Each one gets trimmed, a 1/2 pipe clamp,
and screwed to the bottom. Pre-drill your holes. It's way easier, especially in awkward positions.

We are ready to make the cross braces to hold up the fan. We want this outblowing fan to sit as high up as we can get it, to catch more hot air.
Here is a 2x4 cut to fit right between the studs, and the extra board to screw onto the face of the studs.
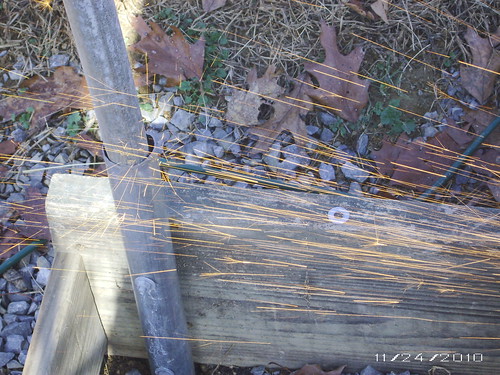
We've got a top and a bottom, and we've run out of the right size screws, which are very expensive. So we are using longer ones and grinding them off.
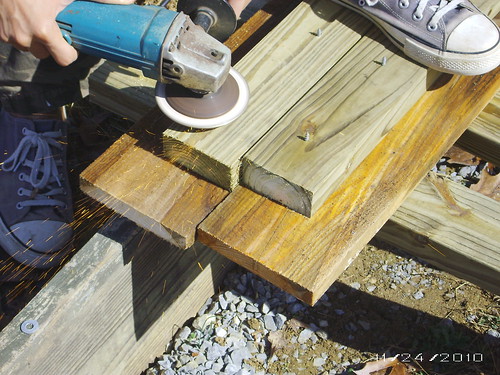
It's like the Fourth of July.
The top joist, as far up as it will go.
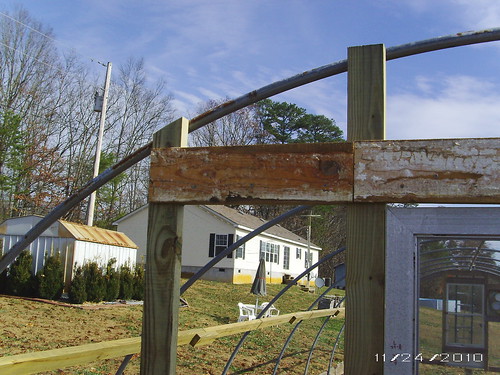
But it's a problem, as it will get in the way of the boards we will use for circumferencing the end.

At the other end we put them inside.

But we could not do that here because the construction of the fan brackets were different.
Michael came up with a plan and tried to explain it to me. But my flu-fogged brain could not process it. So he took charge and I was his lackey. The braces were taken apart, and refastened together a bit off-center.
Then affixed to the inside.
And it worked very well. The fan opening is nice and high and sturdy.
We've got the last of the studs put on the end. These need to be not too far apart, no more than a couple of feet at most.
The ends of the purlins need to be trimmed flush with the rest of the studs.
Now comes the fun, sort of, part. Creating a giant jigsaw puzzle. Using the old deck boards, we cut pieces to fit all around the perimeter, meeting at the centers of each stud. Using plywood sheets for the ends would have been much simpler. But the price of lumber is astronomical, and this wood was free.
Nothing scientific about this process. We hold a board up there, draw lines to do our best to match where we need to cut it. We checked them each several times making little cuts along the way. Not a lot of extra wood, so we didn't want to lose any.
And it's almost done.

We still need to grind the edges and change the purlins to the outside. But today is Shabbat and we are happy to have some down time.
I hope all your Thanksgiving memories were as lovely as ours and that your homes and families are blessed today.
Sipping cocoa...
~Faith
.