Thursday, June 3, 2010

Yum! Steak!

.

Boy do I wish these were ours!


But they are not. They are the neighbor's cattle who keep breaking through the fence.

Go get 'em!


Yeah. They KNOW they are not where they are supposed to be. The mares say, "Good riddance. Better you than us!"


Doyle Thornless getting ready to bury us in berries again.


Last year we had a lot of trouble with grass being stuck all over the berries every time we picked. It really added a lot of time to harvest and processing. This year we've been practicing mowing and making sure everything gets tossed in the opposite direction. I haven't figured it out on the grape side, but Michael has.


The black rot has got me trembling again. I'm about ready to take them out and replace them with Mars vines. Those are a type of blue seedless that are resistant to black rot. I'm looking into it now.


What ARE these?


And these are either Nanking or Hansen's bush cherries. I'm not sure which, but they are ripe and they are good to eat!


Just haven't decided what to do with them yet.

~Faith

.

Wednesday, June 2, 2010

Friendly Adventures. May 31, 2010

.

We decided to be sneaky and give some plant gifts to a friend who was out of town. She said there was NO plantain at all anywhere on her property. Well, you can't have that!

Michael and I dug up some from our place, and we met some friends who dug some up from their place.


And we drove over to our destination. We parked, got out of the car, and burst out laughing hysterically.


There is plantain all over the place! LOL I guess she wasn't as familiar with this as she thought. Well, now she's got more, and right by her back door, too.

It was a great adventure. We set the day aside to just be with friends. Took walks, took drives, played games, found Mulberry trees, ate a wonderful lunch outside, and just enjoyed being together. Then we had a quick run home, as another friend was coming over for dinner and to watch an interesting video about eclipses and prophecies.

I finally felt just a little rested. And just in time, too. We have to begin school again. Ours is kind of a year 'round school. Michael takes off in the spring when it's so busy around here, then we do school through the summer.

Gladly, he is still ahead of schedule. He's a good student and hard worker.

~Faith

.

The Big Payoff May 29, 2010

.

We cheated and played in the water before the pool was filled. Sure felt great!


Michael swam while I read out loud to him. Nice.


I don't know if you remember, but the leaves in that vase are the ones I cut off my plant 10 weeks ago. That's longevity!


Time for dinner!

~Faith

.

Interludes and Fear Factors. May 28, 2010

.

Interludes first.

Mikka found the catnip! We'd never seen this before, so it was kind of funny.


20100528_7606


20100528_7610


What is the world coming to? First the Japanese Beetles and now the cat.


We got some much needed rain.


And found that the French drains we put in work great!


This one above the greenhouse has gravel over the end of it.


Now on to the scary part of putting the pool together. The part you can NOT take back if you mess up. Cutting the holes for the new filtering system. The pool is half full at this point.

We have had two cordless drills over the years, but the batteries are all shot now. We are loving this old drill. Yup, it has a cord, but it's faithful!


This is the return jet hole. We began by cutting a small opening into the liner where the return would go. This was to stuff wet paper towels inside to absorb any metal filings that might want to fall between the wall and the liner while we work, damaging the liner at a later time.


Then we pulled the liner away and drilled a starter hole in the center of the hole we needed to cut out. I used the gasket as the template for the hole.


The tin snips were used to cut out the circle, while we held the paper towels against the area from the other side.


Pulling the towels out, now that the cut is finished.


We put the return through the hole.


So we could trim away the excess liner.


A razor blade works perfectly.


Put the jet together. Simple, just follow instructions with box.


And fasten it permanently to the wall, using the gaskets and some marine grease if you have it. You should get some.


Ours did not come with instructions, the box had been broken into. The gaskets were a little confusing. We had two rubber gaskets and one cork. I looked up many places online, and they all said something different. Just make sure you've got your two rubber gaskets on there, inside and outside, and do what you want with the cork. We put it outside next to the nut that tightens the whole assembly on. I don't think it's doing anything there anyhow.

The next one was harder. The skimmer hole. We used the gasket for a template again, and had to cut out the square hole and 10 screw holes. We used the paper towel trick, which worked great.


It took a long time, being careful not to drill my hand (Michael got me once), cut or poke a hole in the liner, lose any metal shavings inside the liner, or get the drill bit wound up in the paper towels. But at long last, it was done.


Then came screwing it all together and trimming away excess liner.


I would like to tell you we completed it by ourselves, but we did not. We really needed some muscle to get those screws tight on the skimmer. My dad came over and loaned that to us, along with the marine grease.

After this, it was just a matter of filling it and seeing what leaks! There will ALWAYS be leaks. We just have to be ready to fix them.

~Faith

.

Car Repair and... Tapeworms? ~~ May 27, 2010

.

As things tend to continually fall apart, we have been watching our little mini-van begin to struggle. Just like me, it's beginning to get old, tired, and things are going wrong. I try to get it serviced when the time comes, but sometimes we are a bit late.

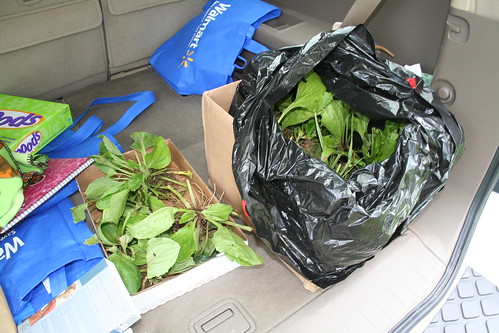
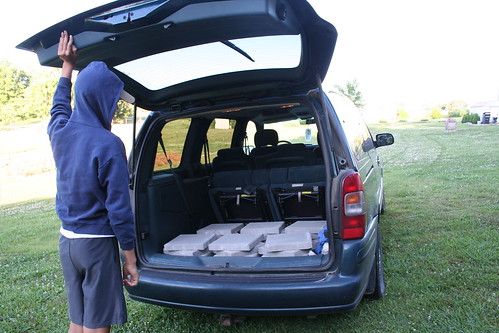
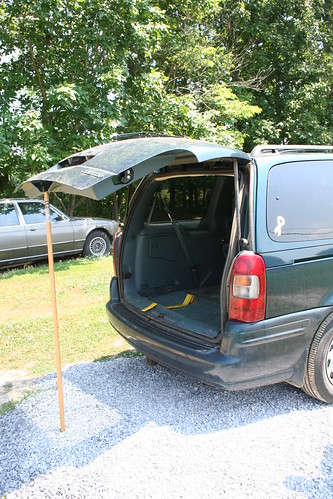
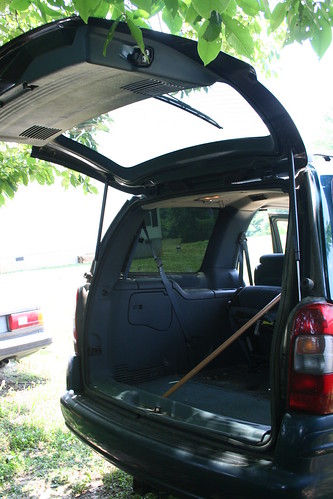
A year ago, the hatch quit staying up. Gotta love the loading and unloading of groceries in the rain while one hand holds the door up, the foot hold the cart from running away, the other hand loads the bags, while rain runs down your arm.


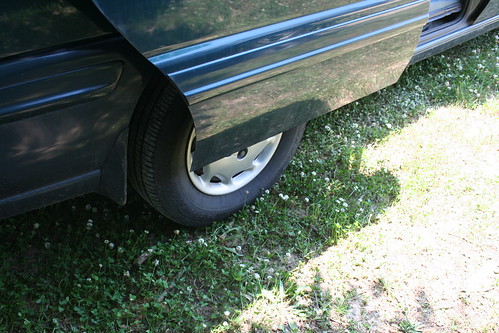
The tires we continually have trouble with, and one has had a slow leak for well over a year. The A/C quit working two years ago, and with my window not working, that leaves us with one window to let airflow in during summer - (Gasp). And the remaining window is just now beginning to not work. THIS is going to be a challenge!

But it starts every time!!! YAY!

So when the tire was not holding air even for a couple of days, we took it for a hopeful repair, which worked! Can I hear another "YAY!"


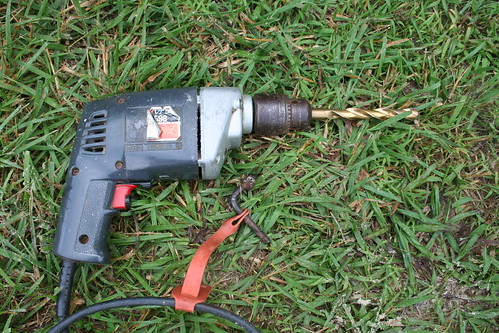
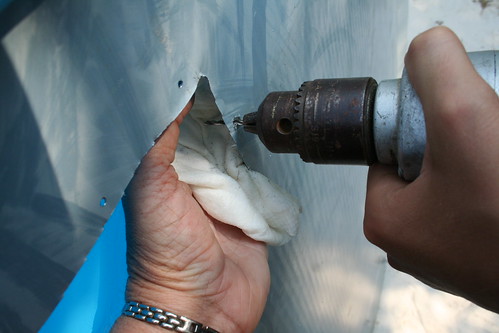
We also splurged 60 bucks and felt it was worth fixing the hatch door to make our lives so much easier. Michael took charge of replacing the lift supports.


And he did a great job!


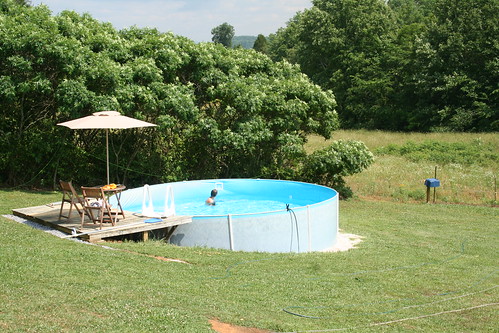
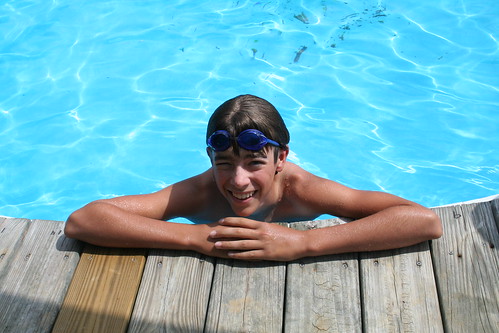
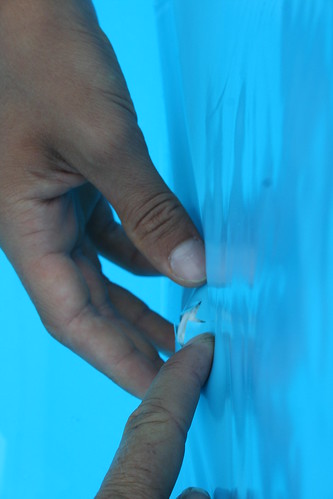
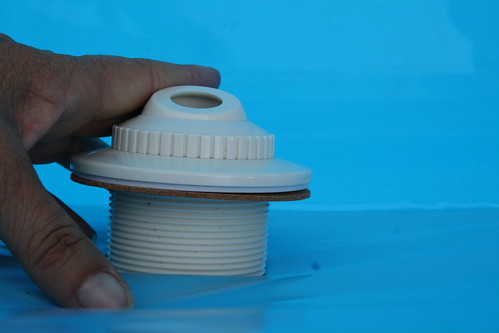
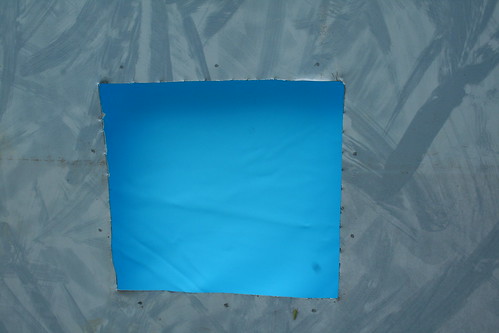
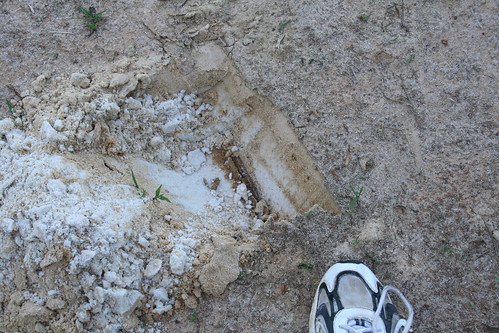
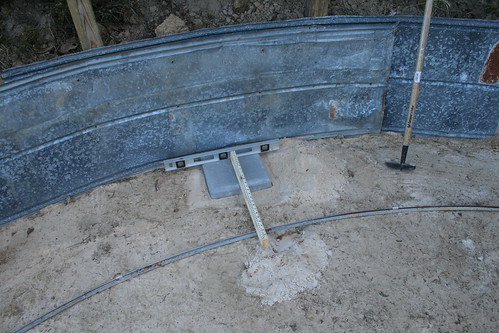
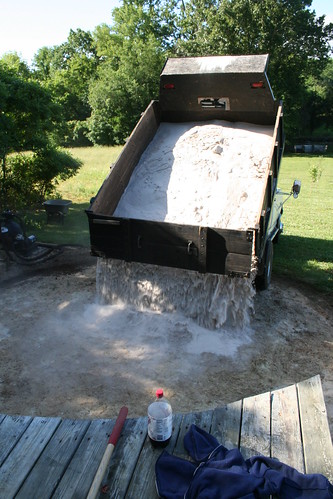
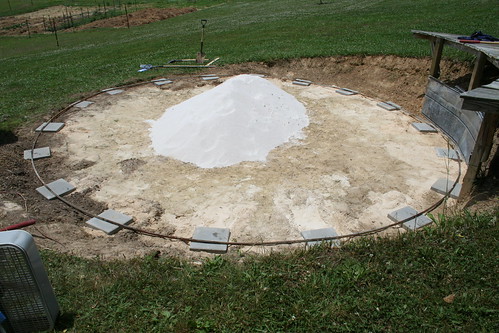
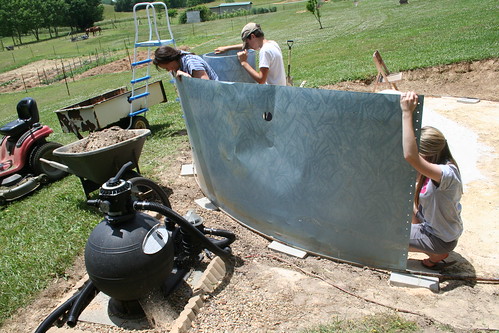
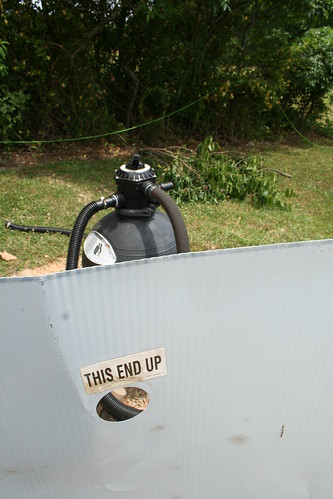
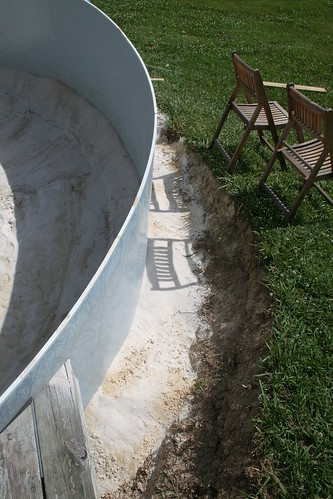
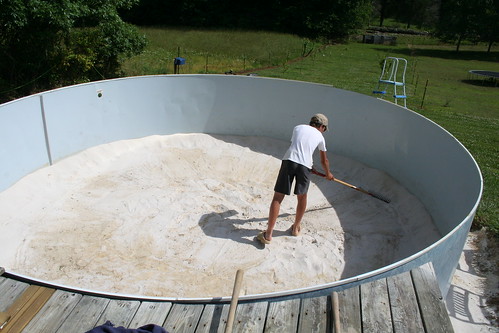
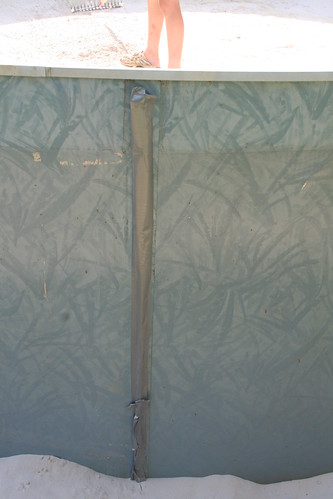
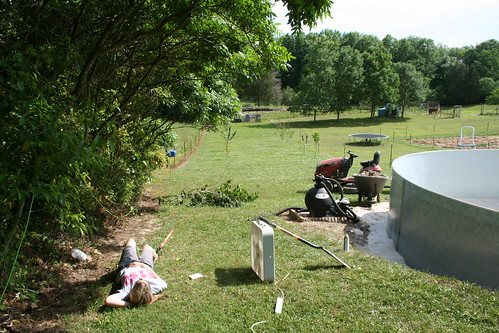
We moved on to working on the pool. We finished up getting the sand just right and began filling it, making sure to keep the liner as wrinkle-free as possible.

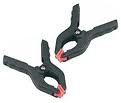
The best way to do this is to spread your liner out evenly and clip the edges up on the pool walls with heavy duty tool-shop clips. These work great. Put one about every two feet.


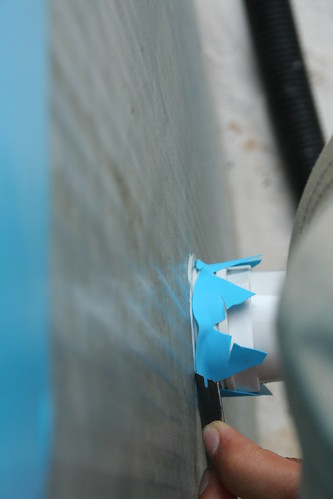
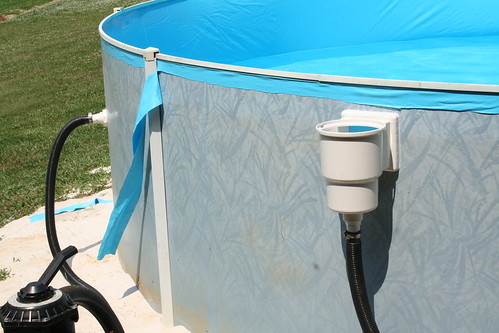
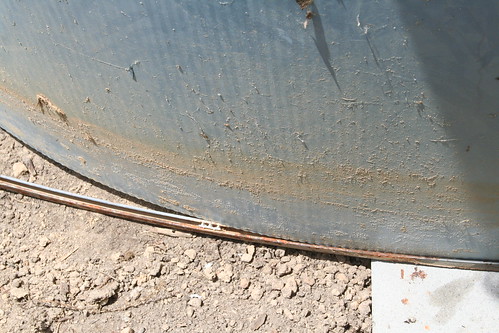
Then pull the liner tight, evenly all the way around, taking all the slack out of the liner, then actually pulling almost all of it off the ground except for the center. Leave about 6 feet touching the ground. Begin filling with water. As the water fills and begins moving out, it will pull the liner down, and you can let out the clips little by little as you walk around and around. Each time you loosen the clamp, the liner will slide down just a bit and there will be no wrinkles in the pool.

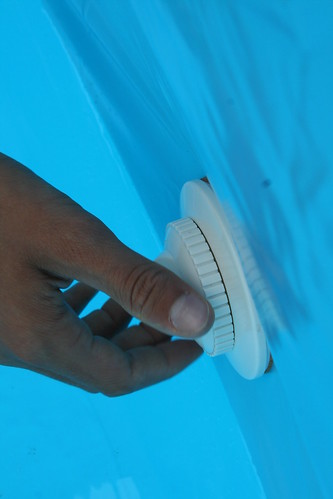
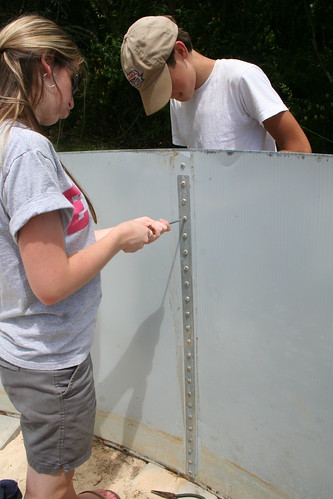
Conversely, you can use a wet/dry vac to suck air out from between the liner and the wall, avoiding the tedious walking and releasing of clips, but my vac is too small and this is how I'm familiar with doing it. Once your water actually reaches the wall, the liner will be done pulling down and you can affix the top coping and rails to finish the walls.

Michael got in, when the water was about knee high, to work the inside of the pool as we installed the top rail. He said there was something swimming at his feet, that looked like a snake.


I took one look at that and stopped in my tracks. All I could think was tapeworm, and WHERE DID IT COME FROM?

It went into a jar of water and I took a trip to the Great Storehouse of Modern Knowledge - Google Search.

Learn something new every day!

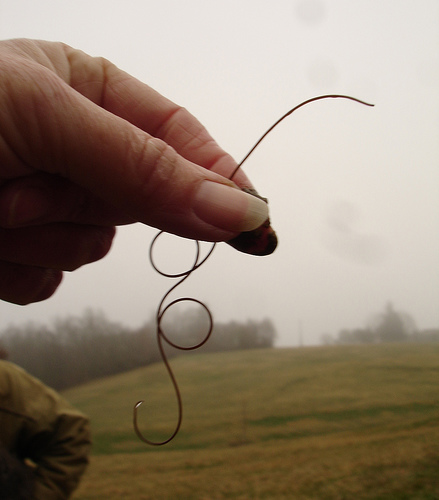
Remember all those stories you heard about horse hairs turning into worms in water troughs? Yeah, I didn't believe them either, but this is where those stories came from. These are Nematomorpha, otherwise known as hairworms.

They are ingested by insects, grow, then drive the insect to water where the parasite exits the body, killing it's host, looks for a girlfriend at the local pool, gets married and has little ones all over again.

How romantic!

Really cool, interesting and icky pictures!

And YouTube has some nifty videos too, if you have a young person who enjoys watching recreations of the scenes in "Alien" where a parasite exits the body of a victim.

Ours was about a foot long.
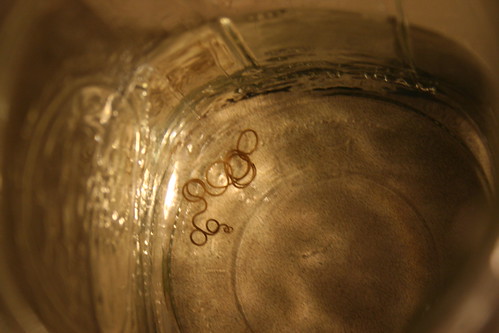


It's dead.

~Faith

.

Bright and Early ~~ May 26, 2010

.

The plan is to get out there and get it all done before ten am, when the sun hits. That never happens. But we got out fairly early anyhow, and began unloading the blocks we would need to set under the joints of the track that the pool wall sits inside.

There Michael is, holding up the door and seeing that the tire is flat, yet again.


We dig down in the sand bed to see how much we've got to work with; about 4 inches in the center and 2 inches around the perimeter.


We begin placing stones. They have to be level, both from front to back, and from side to side. Not only that, but the pool must be completely level in it's circumference. So you find the lowest spot and place the stone level, then you dig the rest down to meet it. Never build up to level what you are constructing. The soil will move away from the point of pressure.


By the time we'd worked for a while, we began wishing we had more sand. It would reduce our time out there a lot. I asked Michael how much he felt would be worth. We both came up with the amount of 50 dollars.

Within an hour we had this sand, delivered, for just over 50 dollars. What a great thing!


But putting it in the center was a bad idea. If I had a surveyor's site to find level, we'd have been OK, but I didn't think it through. I usually level the whole place by driving a center post, attaching a straight board to it with a level riding on top, and taking it around and around, leveling as we go. Now that was impossible.

Leveling them all was now rather tedious. We began from the lowest block and worked our way out from each side of it, measuring for level from the block previous, and hoped it would come out well by the time we were through.

I'm so thankful that it did.


And friends arrived just in time to help us with the last pavers and then put the wall into the track. We could not have done it without them. Well, I suppose we could have, but it would have added another week to the project.


Here's how the wall goes into the tracks which are placed on the leveled pavers.


Beginning to spread the sand. This was too much. The guy had been very kind and given us extra sand for free. I wish he hadn't. With the sand we already had down, I think 1.5 scoops would have been plenty, and he brought 2.5 scoops.


Water..... water...... gasp.... water....


Bolting the ends together was difficult. Being a used pool, the pieces were rusty and some of them bent. Getting them to move and slide into position took a lot of muscle. WD-40 became our very best friend.


This is one of those cheap WalMart pools they used to sell. It comes with one hole and a very limited filtering system. We will not use it, but install the better filtering system we already had that you see behind the pool. Better, but more work.


There I am, taking more photos of the beautiful sky the Lord has given us.


Extra sand went outside.


It was really hot in there.


Make sure you cover the bolts with duct tape to protect the liner.


We took breaks. We are fans of fans.


When we could take it no longer, we went in for relaxing, dinner, games, and just visiting. Ahhhhhhhhh....

~Faith

.