.
This chemise so far represents a possible 30 hours of serious labor, and I have yet to give birth to it. I console myself with the thought that I am not just giving birth to a really heavy slip, but an amazing journey into knowledge of the mystical land of textile construction and engineering. I'm learning to sew.
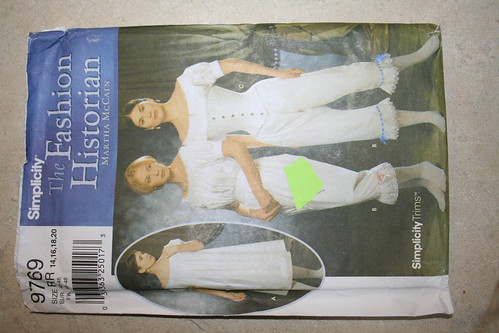
Still using this pattern.
With several hours, no MANY hours put into simply locating some instructions that were not in Spanish to use, I finally got some, through pdf attachments in emails. This seamstress then goes on to tell me that she could not make heads or tails of them, and put the thing together on her own.
Great!
Well, I'm nothing, if not willing to make a fool of myself, so I resolve to give the thing a try.
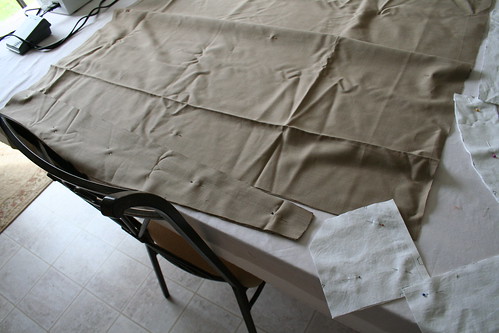
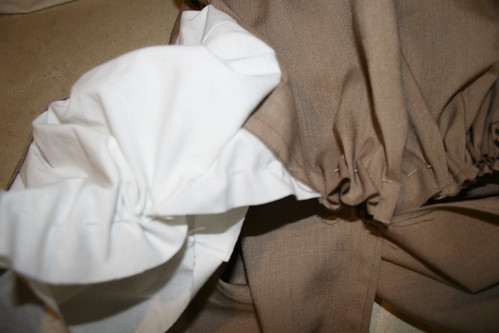
I did not have enough of one color fabric to make the complete chemise. So I used two different sheets.
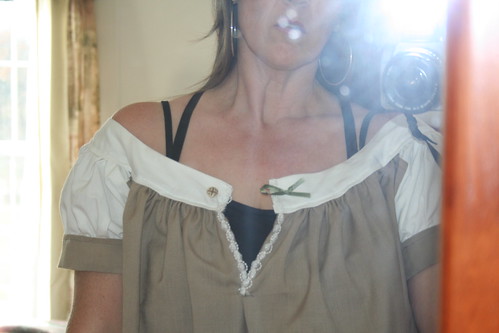
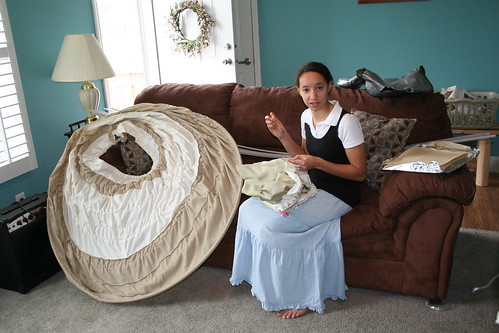
It will go quite well with my home-made mocha and cream hoop skirt from the Spring Ball. Stepping back in time...
Back to the present.
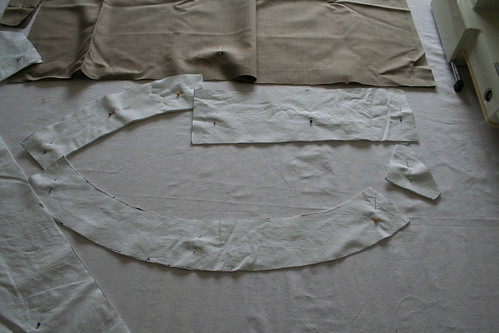
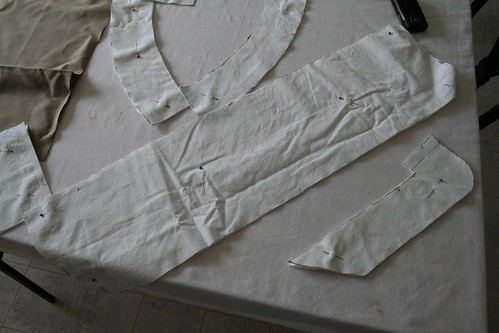
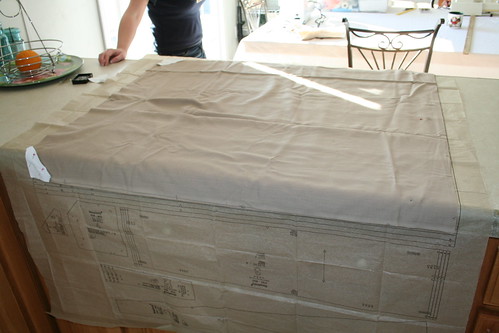
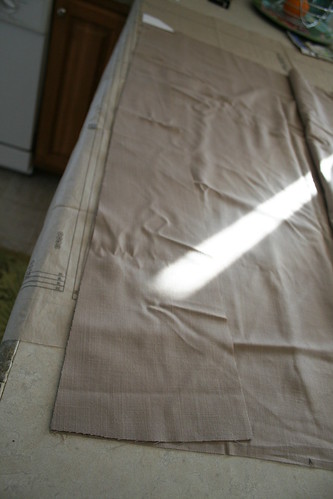
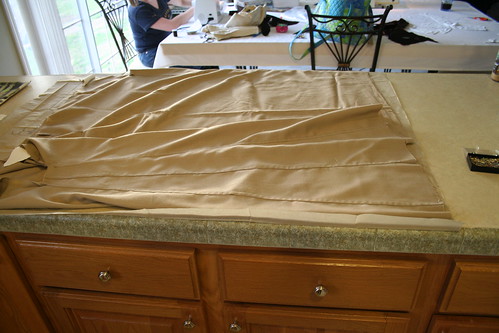
I had nine different pattern pieces to cut out. I did the upper pieces in white
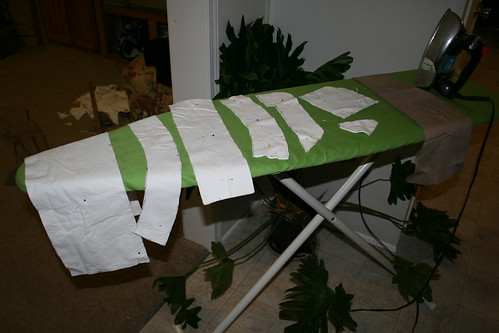
and the main body of the front and back in brown.
At this time, I had no idea what to do with all the pieces, as instructions were beyond my grasp. I had underarm gussets, neck gussets, underarm liners, yokes... all foreign names to me. This is an attempt to figure out the thing like a puzzle.
Doesn't work.
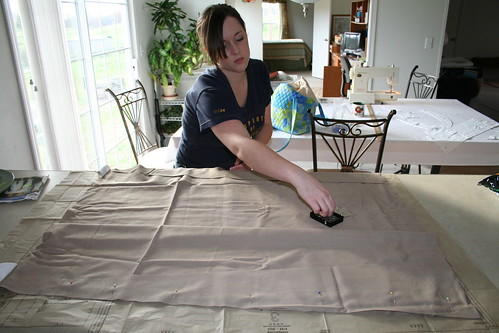
Yay! 1 pm and I have instructions!!! Leah has delayed her arrival to sew a chemise alongside mine, so I bravely begin to work. That word bravely is not lightly typed, every move was laced with something akin to terror. But one step at a time, right?
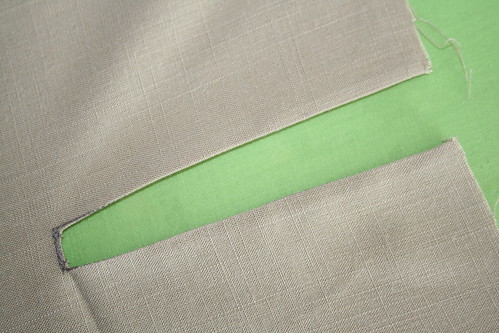
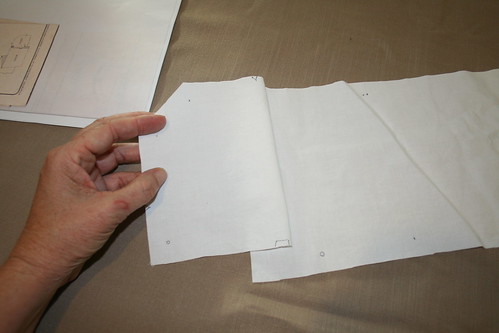
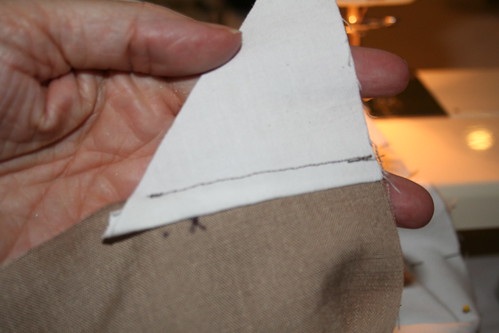
First up, was to create an opening at the top of the front panel for ease in getting in and out of the thing. It is to later possess buttons. I almost did not do this, as the opening is so large, extra is not necessary, but I thought it would give me more practice in sewing tasks and, more importantly, it would look cuter on.
Oh, one tip I learned. EVERY SINGLE LINE, DOT, and MARK on the pattern must be transferred to your fabric. I think I would like to splurge and buy my own patterns, because transferring them is a nightmare of time consumption!
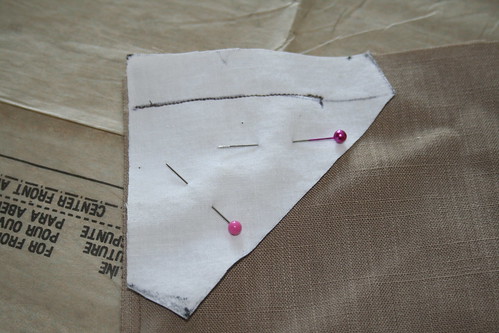
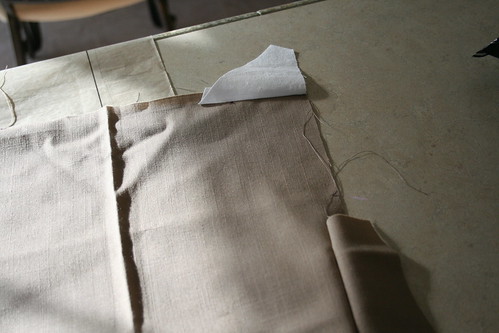
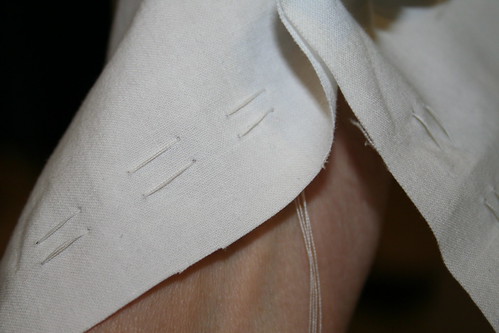
Dead center at the top front piece is this little design which I had to measure and mark in, as I'd skipped that when cutting out the pieces.
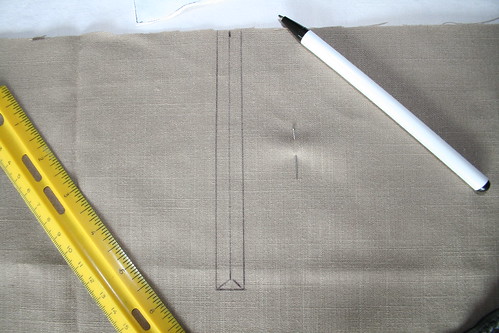
You stitch it around the outside lines only, and you cut it on the inside lines, making sure you don't accidentally snip through your threads you just meticulously invested into the cloth.
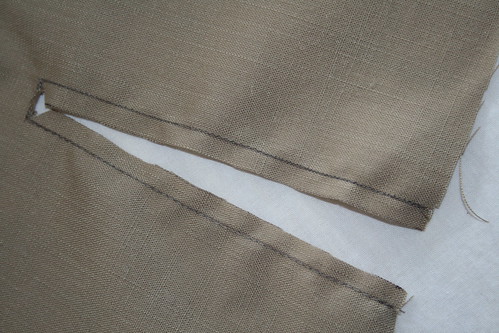
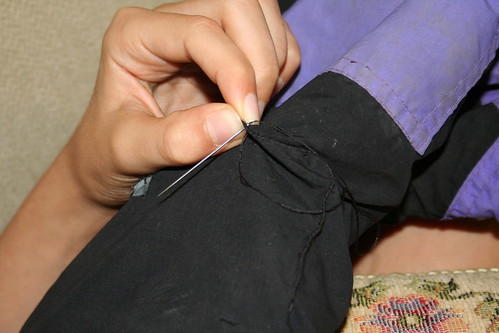
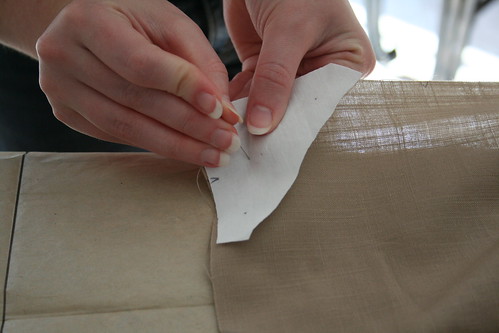
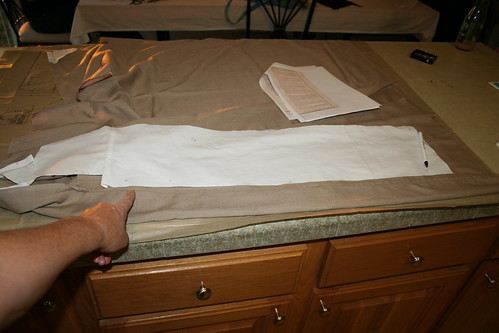
I'm going to show you what I did, then I'm going to tell you what I would have liked to have done, after doing it. Instructions said to fold the edges under twice, very narrowly, and sew in place.
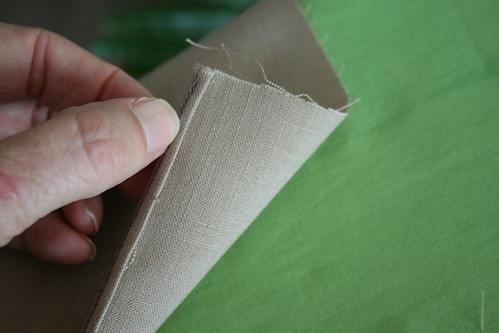
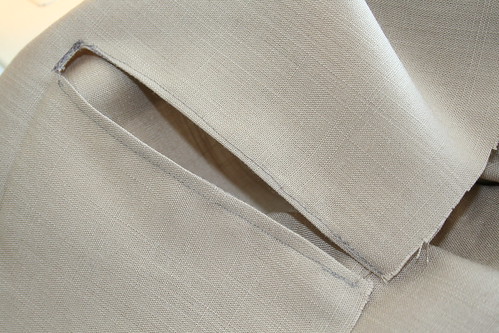
What a pain! Next time, I'm going to affix some single bias tape or something to those flaps to give me something more substantial to work with and make the finished seam look smoother. Kind of rough looking to me.
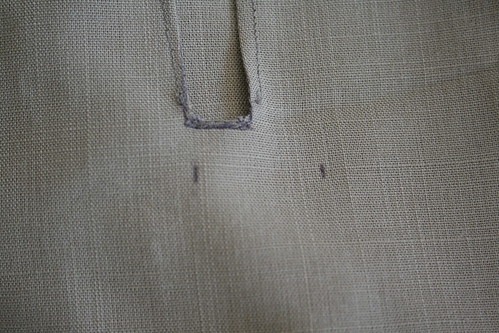
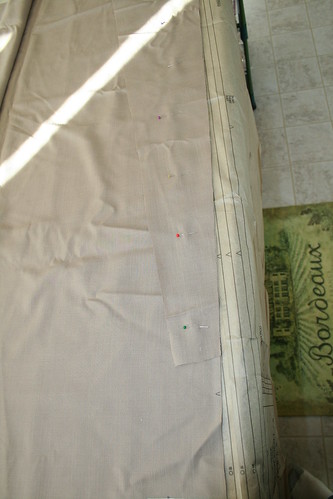
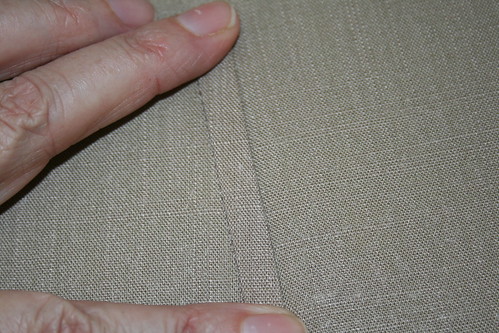
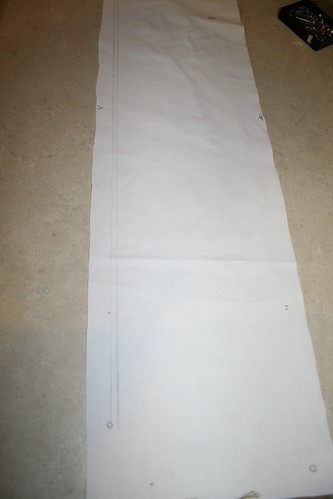
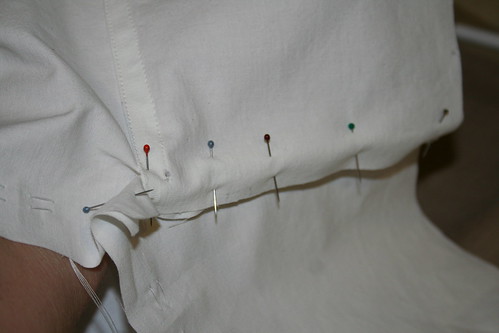
Now it's time to make a pleat underneath the slotted opening. See the two marks? Pinch and grab the fabric on top of the left mark and pull it over to the mark on the right.
Pin it.
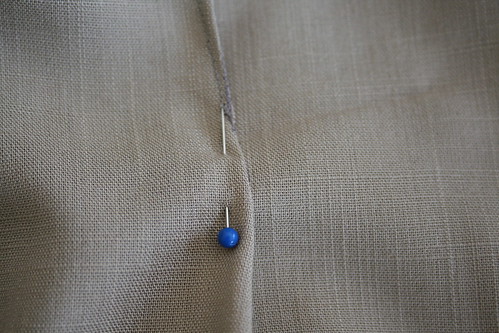
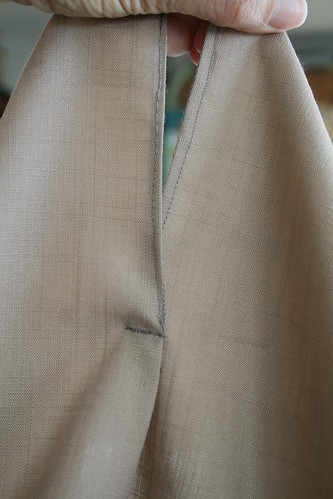
Sew a line right over the top of the place where the slot bottoms out.
Now it's time to begin to put the pieces together. The first ones the instructions lined up were the mysterious neck gussets. I now know what they are. I think. Here is also my second taste of what it means to be careful about all those special marks. I'd put the slotted opening at the wrong end, so all the little arrows had to be redrawn the other way first.
And right away, I ran into my third lesson in markings... the DOTS are also necessary. I had to take a brief interlude and add those to little pieces as well.
So the neck gussets were to be attached at the top corners, matching arrows and dots.

I am sort of becoming familiar with those. They typically are at 5/8, where you'd make your seams. The neck gussets were to be sewn from the outer edge in to 5/8 away from the inside edge. It asked for a flat felled seam, but I did not do it. They wanted it done differently that I'd been doing it, and I was afraid I'd misunderstood, so I decided to wait to finish the seams until I had a better grasp of how it all fit together.
Leah has arrived and is putting the 2nd of four on.
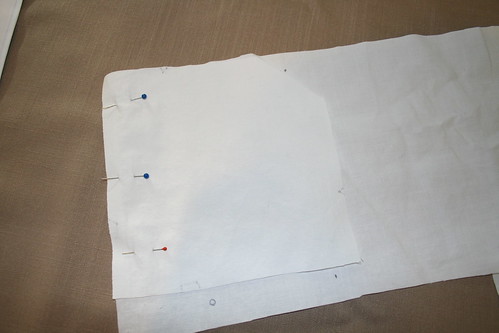
The next piece to attach is the first of four side panels. Long triangles that will add flair to the body, with two under each arm. Matching the arrows and dots...
And pinning to sew.
Here is one side panel and neck gusset attached to the front. The side panel was not sewn all the way to the very top, but stopped at the dot, which was 5/8 inches away from the end. Watch your dots!
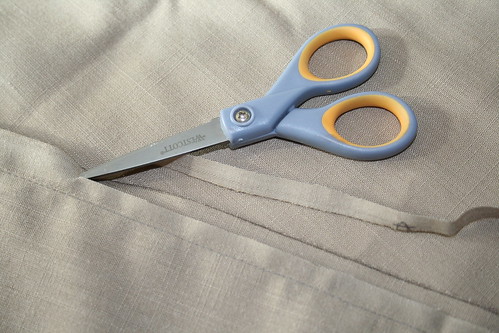
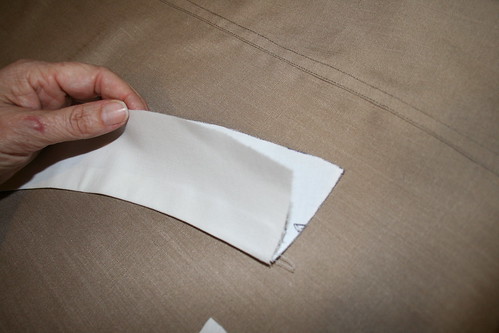
Ok all of the panels on the body and much of the sleeves were to be flat felled. Remember I showed that in the last tuturial on the pantaloons? Cut half of one side of your seam off. On this piece they had me work on the inside of the fabric. I guess they wanted the smoother side to the outside instead. I just went ahead and followed the instructions.
Iron it flat.
OK - someone is distracted from the current project. She found something shiny...
Fold the wider edge around and under the narrower edge, iron and stitch to hold it.
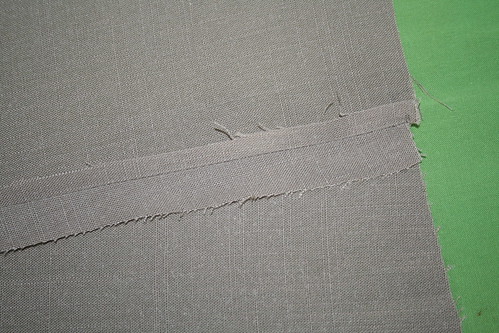
Putting the next two side panels onto the back of the chemise. Line up, pin, sew a flat felled seam as before.
Now the front piece with side panels is to be joined to the back piece with side panels. These will be put together with flat felled seams as well.

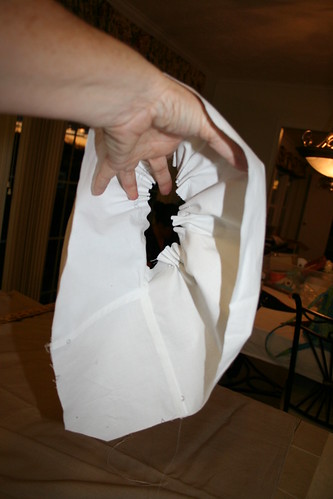
Done. Now I have a sense of accomplishment. It connects all the way around.

Next up is sleeves and underarm gussets. I knew what an underarm gusset was for; to give extra roominess so you can move around better. But I had no idea how they went in. I was about to find out. Did I mention the terror factor?
If you've done all your marks, arrows and dots correctly, this job is way easier. Here is how we finally figured out how to get them together.
This is done with another flat felled seam, paying attention to those dots to know where to begin and end sewing.
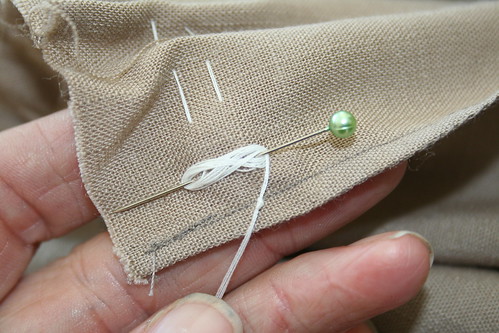
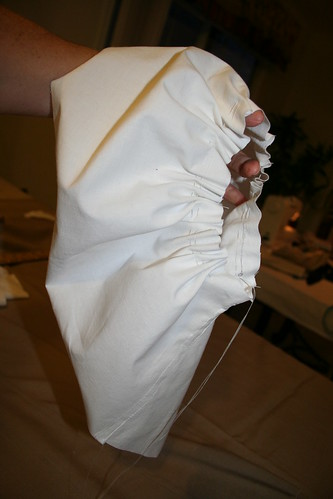
Now the sleeve must be gathered. I've got a pen pointing to one dot, and my finger pointing to the other. It is between these points that the gathering takes place.
I drew some lines to follow...
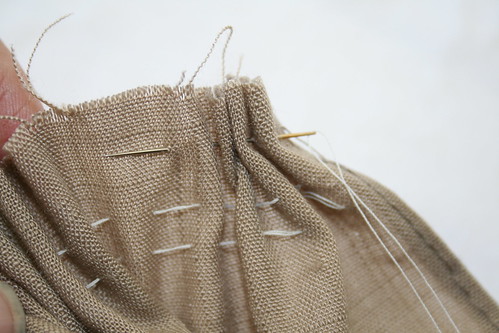
loaded my needle with thread, and began to baste in two wide stitching lines.
Done, and ready for pulling.
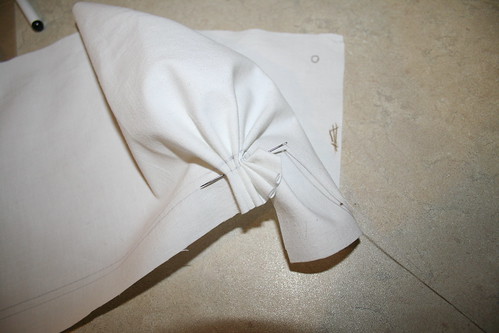
Now it's time to pin the other end of the sleeve around to itself and the gusset. Follow the arrows and dots and they will lead you home.
Here is how they end up looking when pinned together.
Flat fell those seams, and then pull your basting strings to get your gathers going, loose enough to be comfortable on your arms.
Inside view..
Outside view... Starting to look like a sleeve, eh?
I have no idea what we were laughing about this time, but most of the night looks like this...

Just remember to do two sleeves. You don't want to be a lopsided wench.
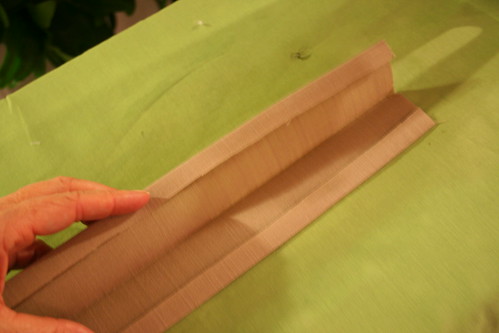
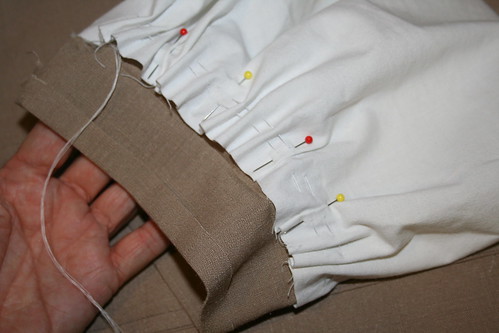
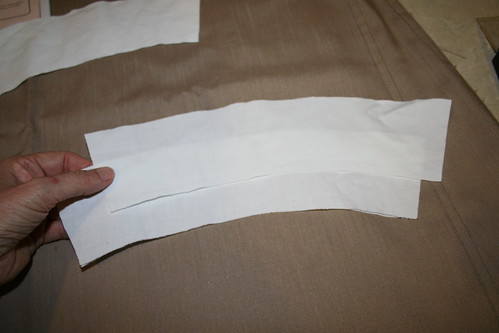
Now I've discovered that the armbands, or cuffs, I cut are not long enough. I use the opportunity to change the color of them to mocha when I cut out new ones. I ironed these in half, gave them a 5/8 ironed edge, and starched them to make them behave.
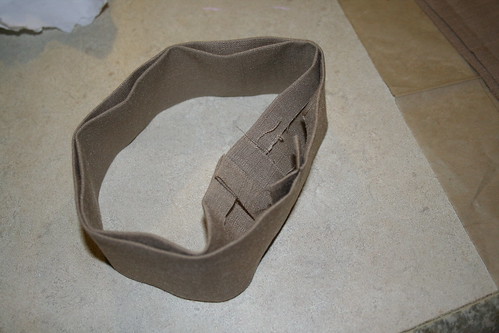
Fit them to the size you want, and sew the ends together.
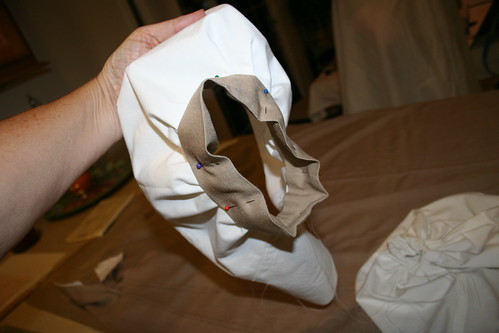
Now pin the gathers evenly into the cuffs. I don't know why this always seems daunting to me. I think I obsess about getting the folds perfectly even. But the later it gets the less you care. Jam them in, pin them, and permanently affix the buggers together with your machine.
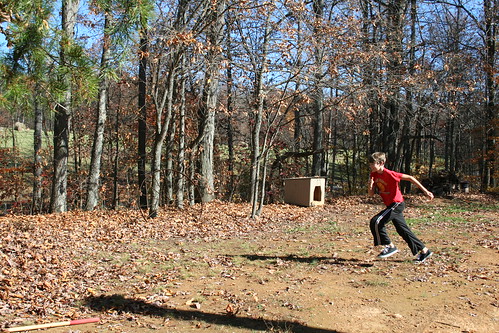
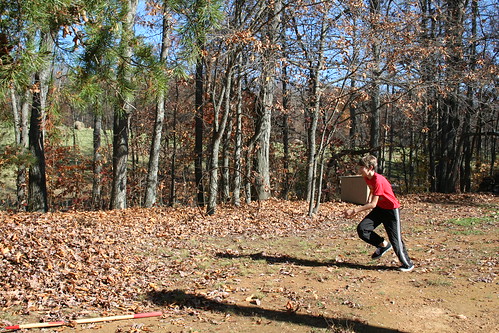
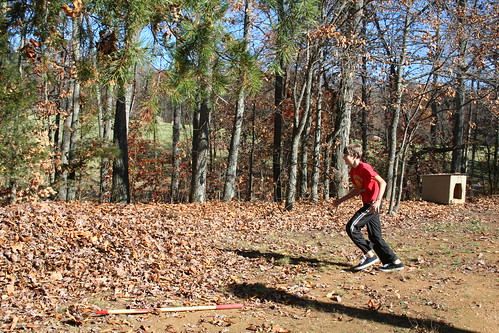
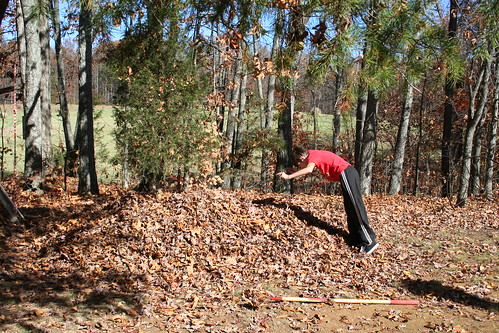
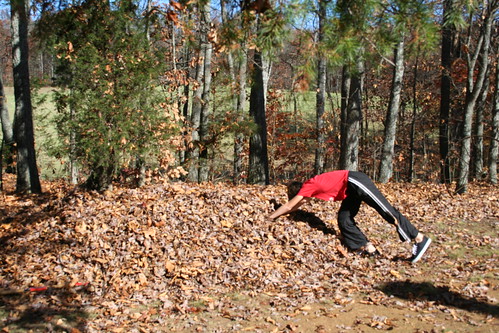
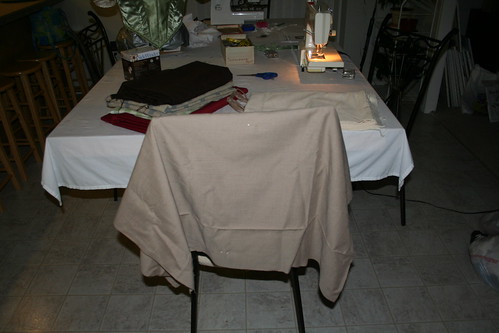
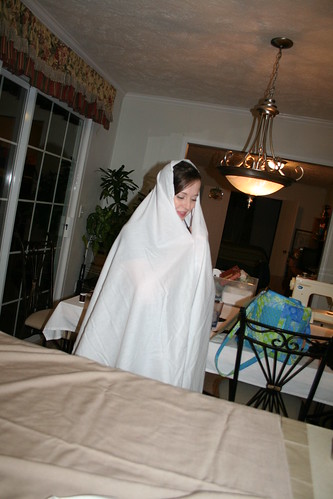
Someone has decided this chemise is more work than she's willing to do this evening and has wandered off into a simpler place. A place of makeshift sheet hacking into something temporary. However, she has been slightly distracted again....
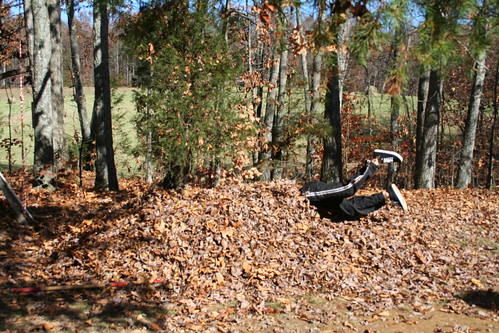
I missed the Casper impression, but she quickly moved on to Saint.

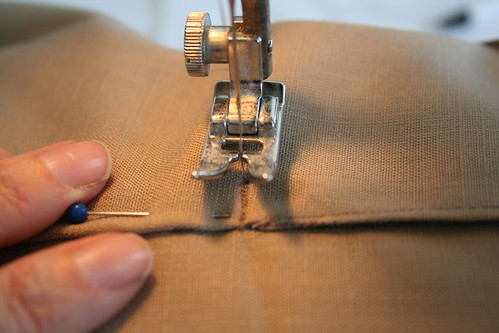
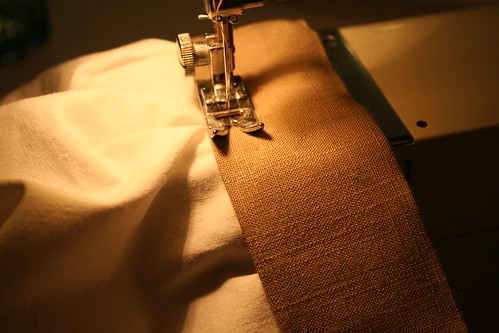
Back to the cuff...
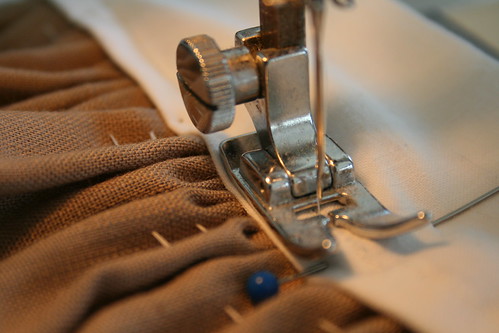
I used the edge of the foot as my guide for how far in to set the seam.
Ok, someone else has grabbed the camera again.
Here's where all the weird pieces come together. I have no idea if I got them all exactly right or not, but I did get them together. I went ahead and flat felled the neck gussets as I'd come to no better conclusion.
And began pinning the sleeves to the body of the chemise. It was here discovered I'd accidentally somehow, I still don't know how it happened, flipped the front piece so the the slotted opening is inside out. That will need some decorative edging to cover that up now.
It was quite a challenge getting all those corners and edges of fabric sewn together. I am not certain it's right, but there you have it. At this time the inside seam remains rough. I am not sure what I am going to do about it, if anything. There are underarm liners, but the directions were not clear to me on using them.
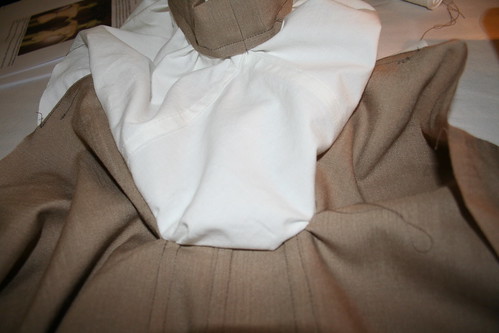
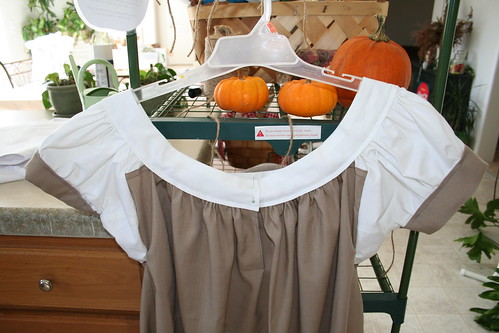
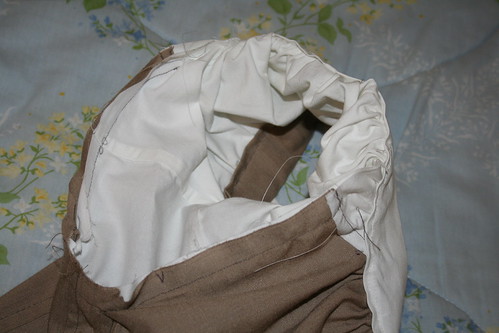
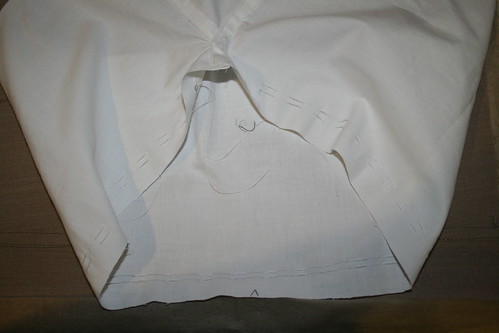
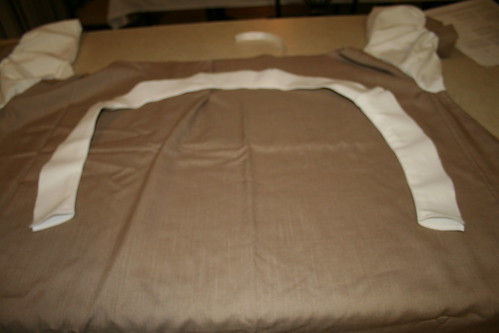
There it is, body and sleeves. Waiting for a gathered neckline and a yoke. Again, the directions were not clear to me, so I spent more time trying to research how to put these things together. In the end I just tried to use common sense and winged it. Or is that wung it?
I decided that each of these pieces must be a front and back and they would need to be sewn together first.
So I doubled up four short yokes and two long yokes. Ran a 3/8 seam along the edges, flipped them right side out, ironed and starched them.
Then I sewed all three together, the long one in back, and the two short ones on each end to end up where the buttons are to go, seaming up the ends as well.
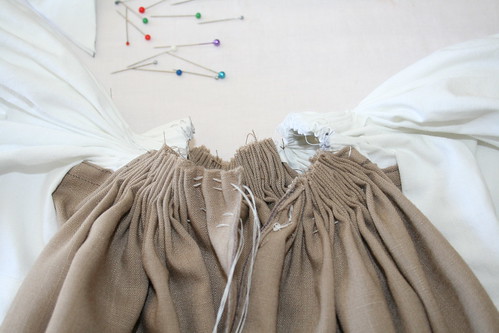
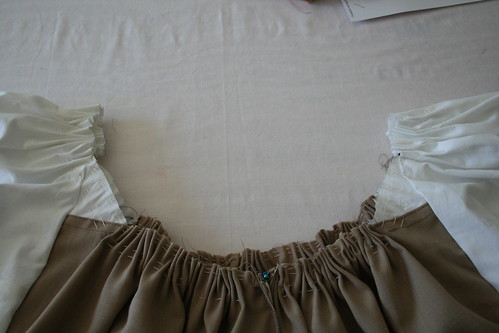
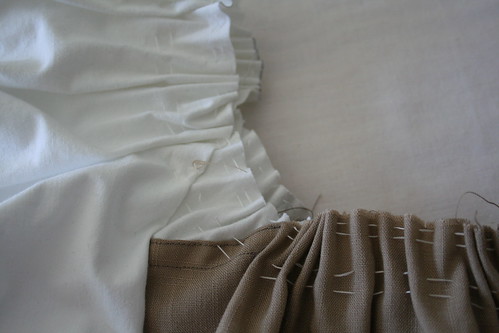
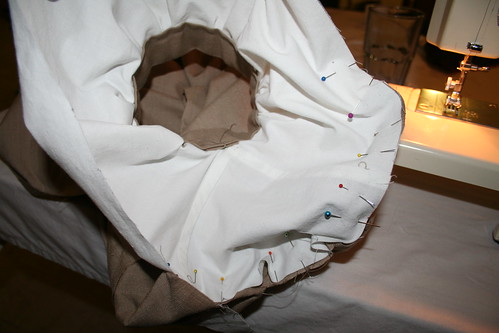
Then began gathering the neckline and tops of sleeves the same way I did the bottoms of the sleeves. This view shows the back, a neck gusset, and the top of a sleeve all in one continuous segment.
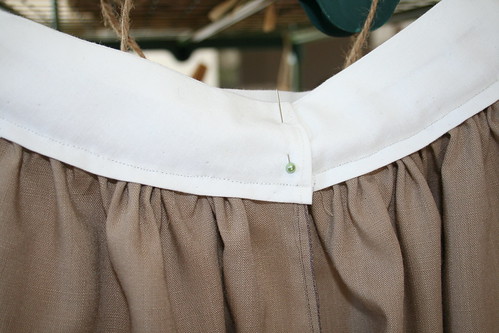
Then began the tedious process of fitting the gathers to the yoke and pinning.
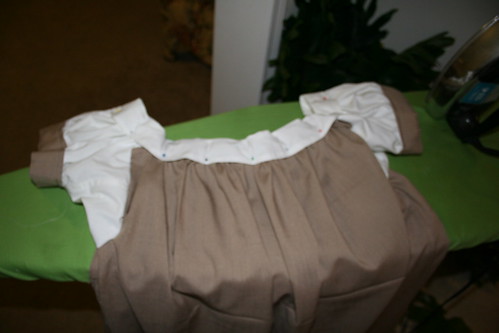
And this is where I left off.
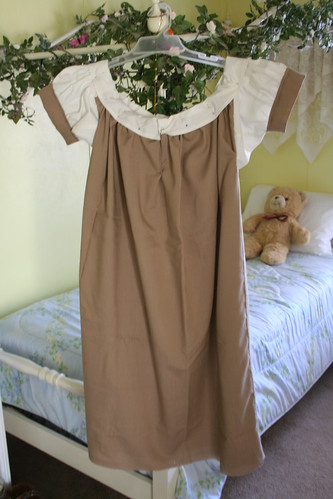
I hope my experience with learning to use this pattern is helpful to anyone who wants to try it. I would love for there to be tutorials like this on patterns when I am beginning one.
The yoke is not on me, yet anyhow. I'll keep you posted.
~Faith
.