Here is my work on a pair of pantaloons, detours and all. I try to cover every detail to help someone else who is as clueless as I am going into this. The pattern did not have any instructions in it when I got it. Enjoy.
This is the pattern I started with.
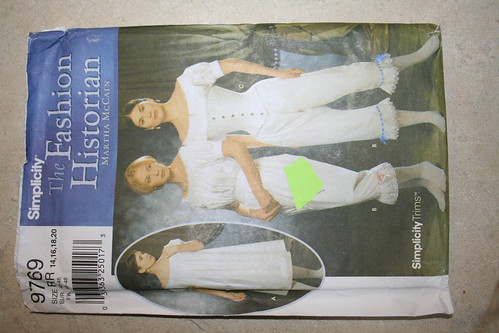
The pattern is not mine. There are many of us who share patterns, so we never cut them, but spend much time wrestling and tracing the sheets of pattern paper, so they can reused over and over. It adds quite a bit of time to the projects, but sure saves us money, as these are nearly 20 dollars apiece.
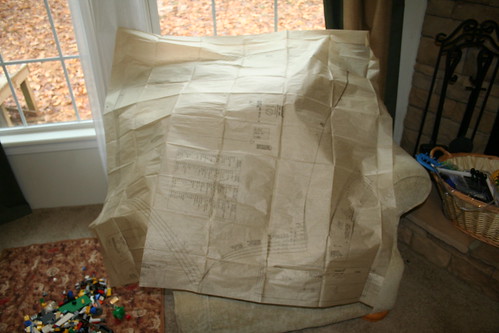
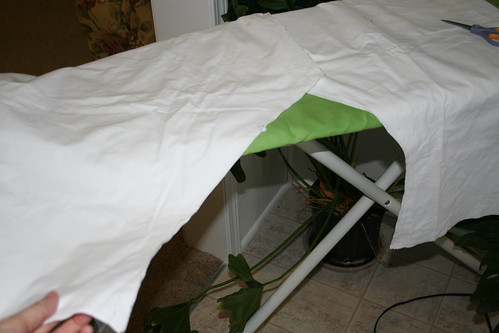
Here is yet another sheet I found at the thrift store. We make most of our linings and undergarments out of used fabric we find there. This one is a really nice piece of very heavy weave. Might have been a hospital sheet. No, the little flying toy sitting on top of it has nothing to do with this project.
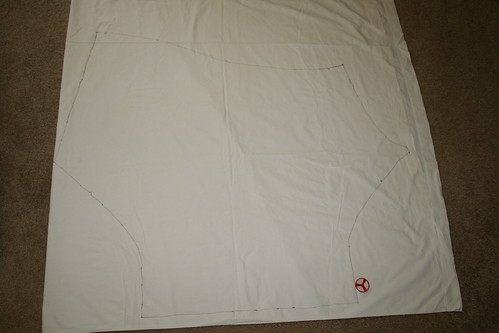
I had no idea what size to choose. I went with the largest one, so any changes needed would be doable, rather than having to start over.
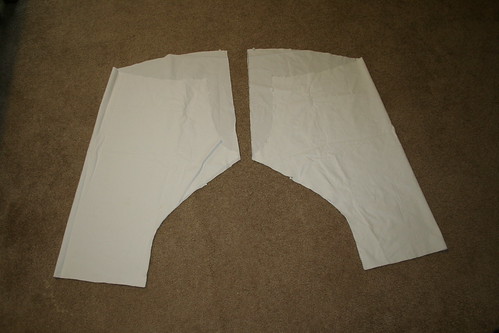
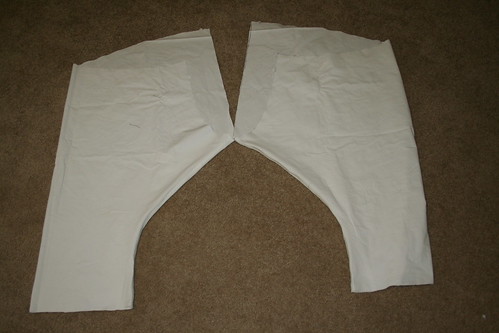
These are the two pieces needed. I doubled the fabric, used a pen to carefully draw on it, underneath the pattern, and cut them out.
I did not quite have enough room to get away from the seam, so this extra piece is simply cut away from the main piece.
OK - I lay this out, following the note on the paper pattern, and a nagging suspicion comes into my head...
I think the pair of pantaloons we made the day before, for Leah, was put together upside down. Yup.
Honestly, after comparing hers and mine, her's look WAY better upside down. But they may not be roomy enough for sitting... we'll have to check that.
At this point, I am unsure whether to continue, or to do it the same way we did Leah's. I finally decided to follow the instructions the way I understand them now, so that I could learn more.
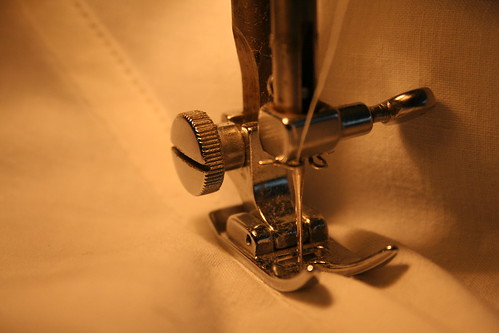
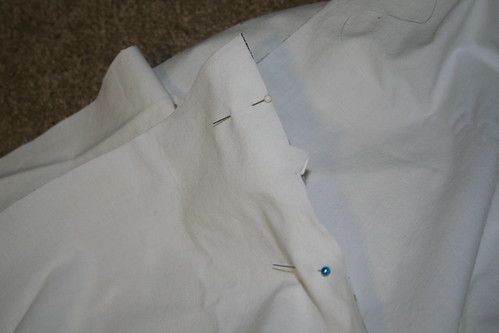
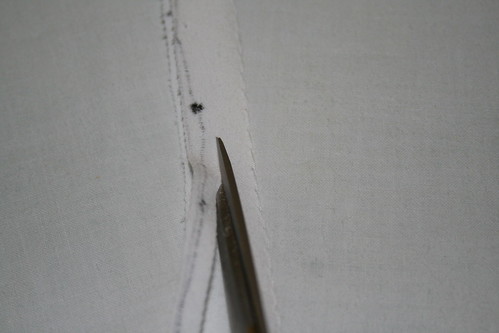
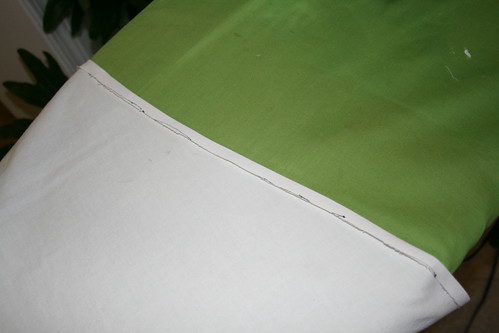
The first step is to sew the legs closed on each side. You can see where I've put in a 5/8 seam, on the outside of the fabric. I am going to use flat felled seams, so that the garment has no fabric edges showing. If you want to know what a flat-felled seam is, look inside a pair of jeans at the seam that runs up the insides of one leg, across the crotch and down the other leg. That's a flat-felled seam. You work on the OUTSIDE of the garment to make one. DO NOT turn your pieces inside out.
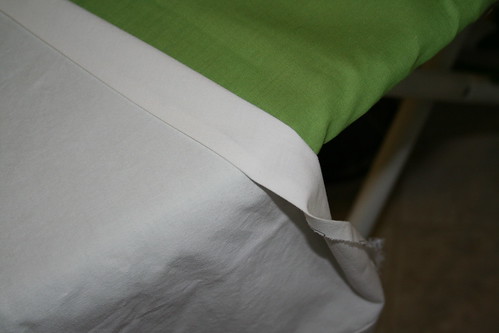
Once you have sewn in a seam, you must trim half of one side off.
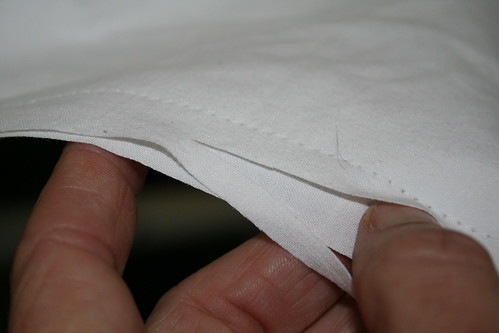
Lay the two legs side by side, as if they were already sewn together, and make sure you cut the same side. This will make the fold go the same direction across both legs.
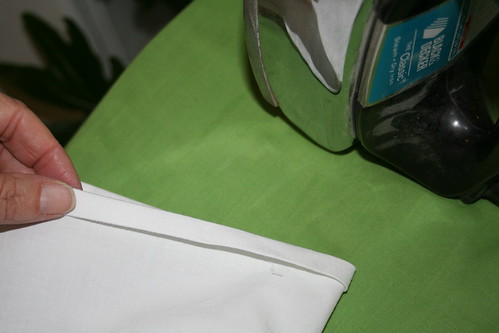
Now iron the seam flat.

Then take the wider side, and fold it across and tuck in underneath the narrower side, and iron flat.
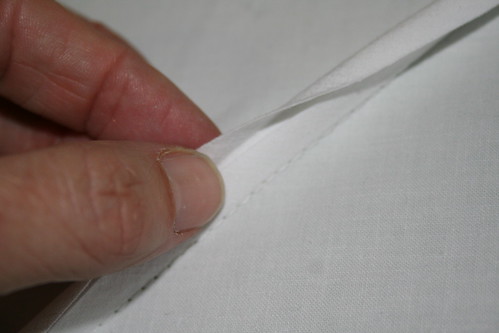

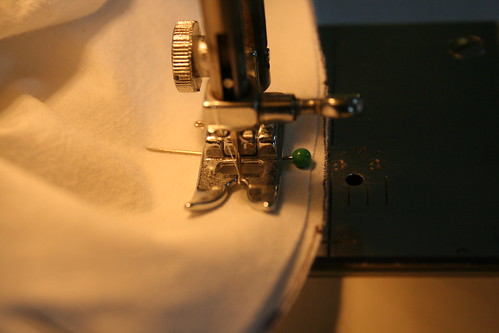
Now you are going to run a seam down the very edge of it to fasten it all down.
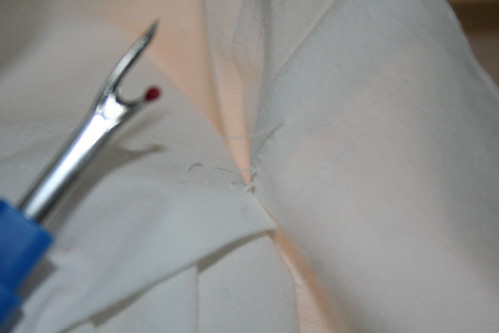
Some of us will accidentally get some of the other fabric caught underneath as we are sewing.
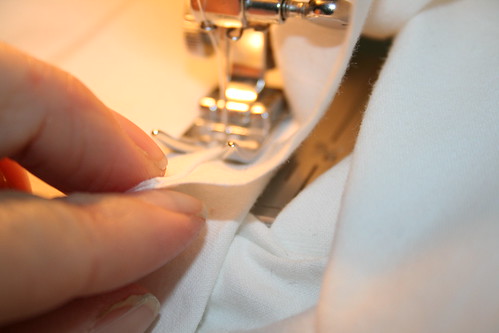
And those of us who do that will be using the seam ripper once again.
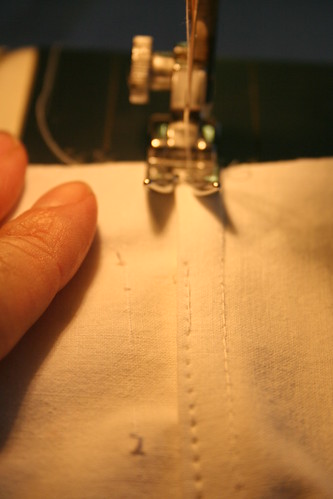
Back on track, I'm finishing up from the other end, since there is not so much fabric in the way down there.
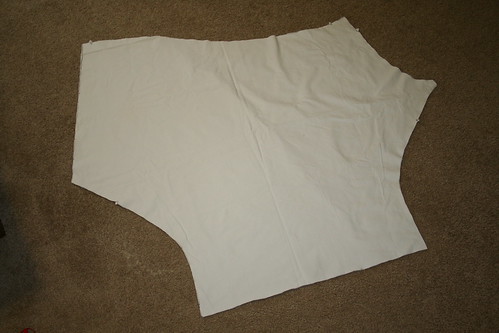
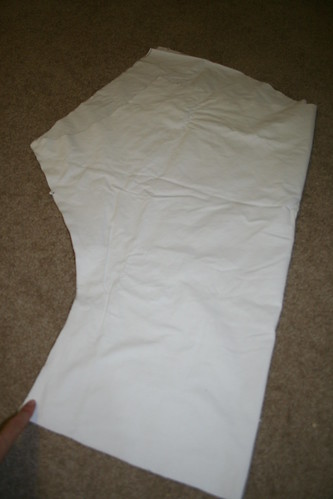
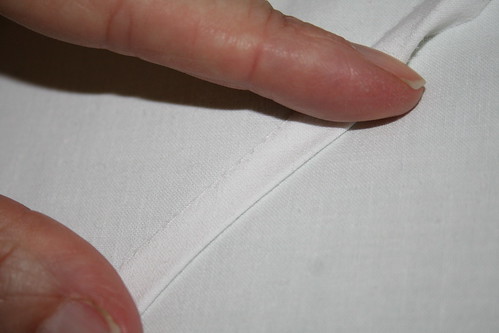
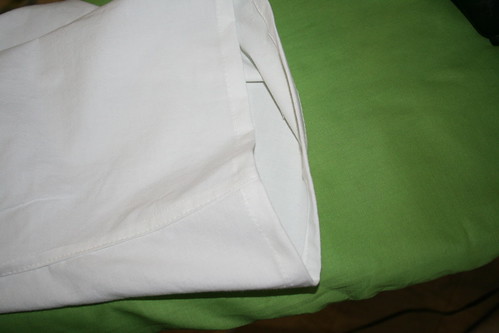
Here is the outside of the garment...

And the inside is neat, smooth, and comfortable against your skin.

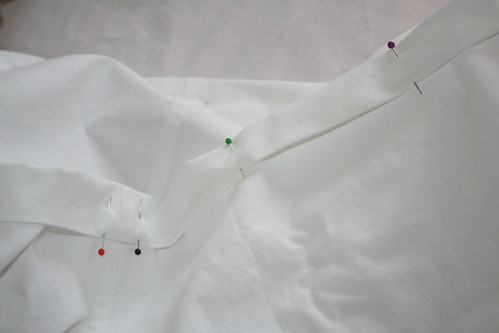
Now we are going to join the two halve together.
The back of the pantaloons are higher, giving more room in the seat. This seam will also be a flat-felled seam, so work on the OUTSIDE of your fabric. Get those leg seams lined up together first and pin out from there, making sure your fabric is pinned sticking to the outside.

And give this whole thing another 5/8 seam.
Go right over the top of that crotch seam.
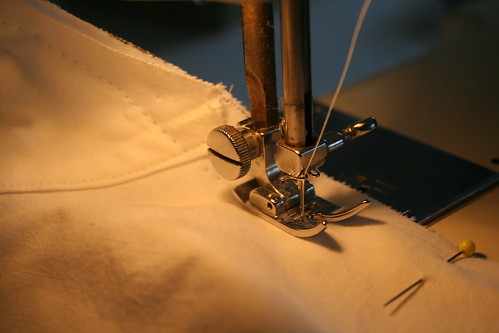
Trim half of one side off again.
Fold over as before, iron as before, sew as before.

Now all that is left is the leg openings to hem and the waistband to finish.
I turned them inside out and double folded and ironed the leg openings to about a 1/2 inch.
Then ran a straight seam to close them.
Both are done now.
For the waist band I turned under and ironed first 3/8 of an inch...
Then about another 1 1/4 inch...
Pinned and ran a straight seam along the edge.
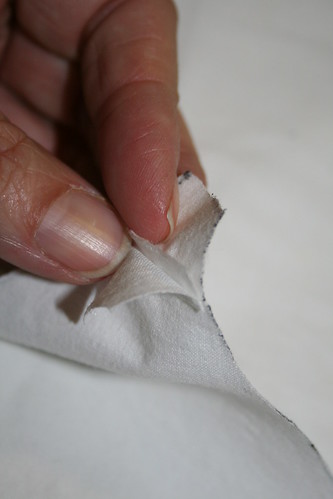
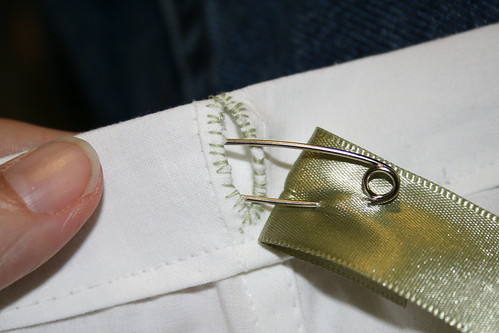
I used scissors to snip a slot through the thick seam at the very front of the waistband.
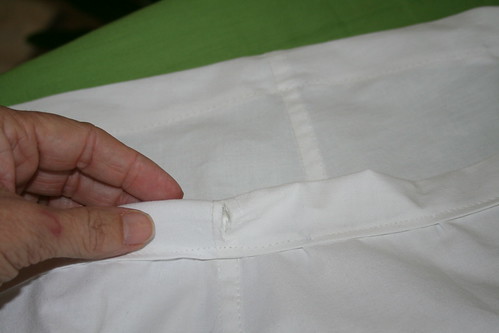
Then I used a little thread to bind the edges of the slot a little bit.
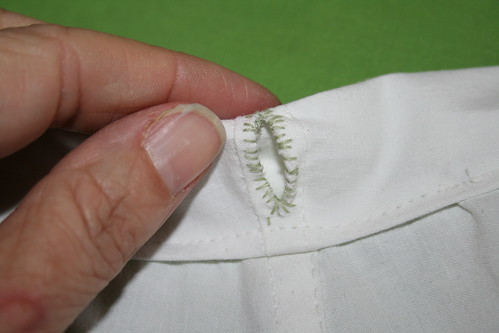
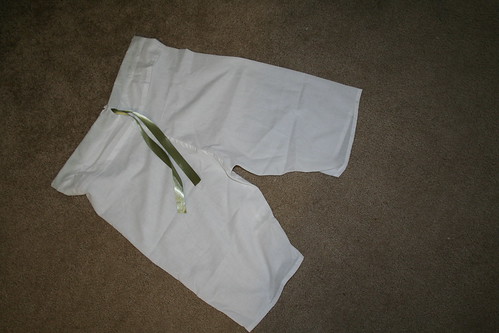
And fed a ribbon through, using a safety pin for something to grab and shove with.
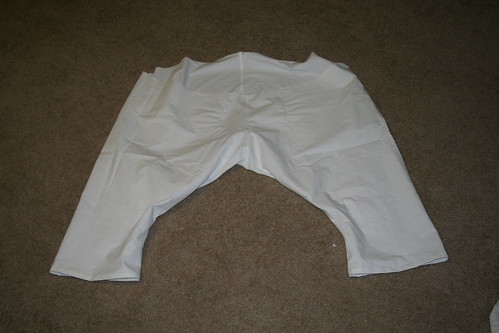
And there you have them!

These are a bit large. They are not the pretty ones I see on the front of the pattern envelope. I did not have any trimmings for it, just a sheet, and some needle and thread. But they are serviceable and will do for now.
Not bad for a first... no second... no THIRD try!
I've been working on a chemise last night and hopefully today. Will keep you posted.
~Faith
.
WOW, Faith! Flat felled seams! You're a pro! You must feel like you're really made great strides since you started! I had to sew pantaloons for a school play one time. You know how they "force" projects on parents, well my mom was supposed to sew them, but instead i had to. Everything went okay putting them together, but they had really baggy "asses" so they resembled diapers. LOL! I had to make two or four pairs, can't remembers. Oh, I meant to add, quilts often call that "unsewing." We do a lot of that.
ReplyDeleteI have that same pattern and keep putting off making some. I will print out your posting and put with the pattern!
ReplyDeleteLinda
http://coloradofarmlife.wordpress.com/
figured i'd mention that i read someplace that hotels will give away their older bed linens that they normally just throw out. might be a good source for more "found" fabric.
ReplyDeleteYou can sew! No natural talent there for me (no forced or practiced talent either trust me), Admire anyone who can sew....LOL and you do it so well....good to see you back Faith
ReplyDeleteK
PS: Any pictures of you on your blog?
Jo,
ReplyDeleteYeah, actually I am amazed at what I have finally learned. I'd given up on being able to sew many years ago, and only this current involvement in Civil War balls has forced me to spend a vast amount of time learning. It's paying off. There are some things I can do now that I never thought I'd be able to, so I'm pretty excited about that. I know so little, but even that is a pretty cool thing to me.
I know what you mean about the diapers, that's pretty much how these look in the back. LOL
~Faith
Linda,
ReplyDeleteI hope it's helpful. Been working on the chemise from that pattern yesterday and today. I'll post what I've learned from that as well.
~Faith
Icebear,
ReplyDeleteWhat a great idea! Thanks!
~Faith
Kat,
ReplyDeleteI think if you do a search in my topics under "Faith Is" and "Car Repair" you'll find a couple. Usually all you get is my hands and feet. ;o)
~Faith