I'm planning a party for a friend this week and need some props. These two were really easy to make.
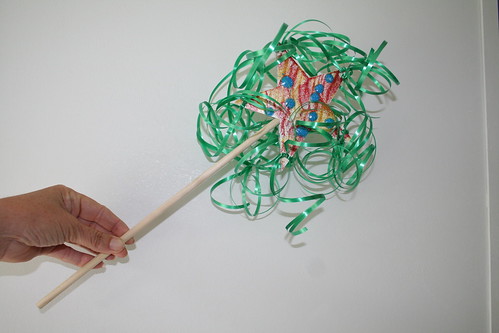
WAND
Poster board
Glitter glue
Curling ribbon
Dowel rod
Glue
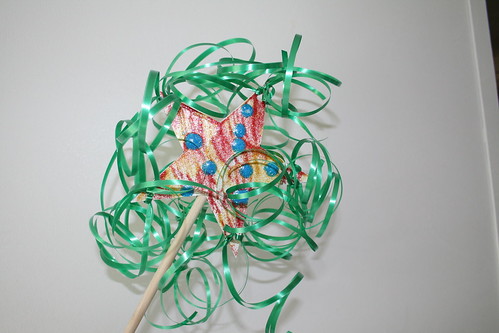
I cut two stars out of poster board, and decorated them with glitter glue. Here's a handy tip - go ahead and punch out the holes on the arms of the stars before using the glitter glue. Mine turned out fine, but I would rather not have had to pick half-dried glitter glue from my hole punch.
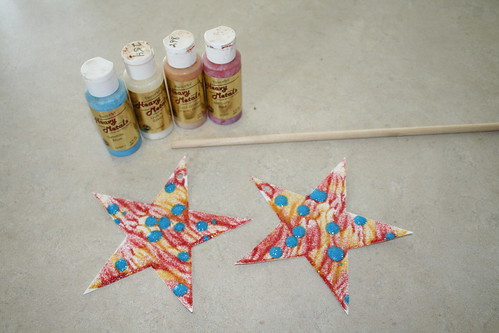
The first layer of paint was achieved by dribbling red and gold glitter glue on one star, pressing the other star against it, and pulling away. It gave a nice rippling effect to the color. Then I dropped blue glitter glue on top.
Being the impatient sort that I am, I used my trusty Excalibur dehydrator to speed up the drying process.
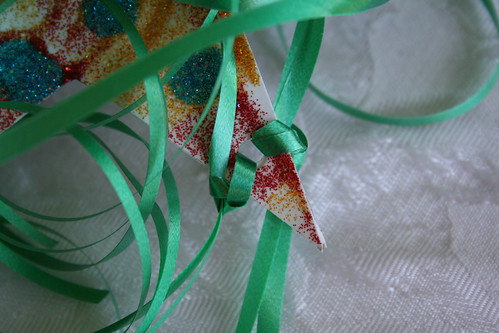
Once it was dry enough to work with, without being brittle, I lined them up and punched holes through the arms. I cut strips of ribbon about a foot long. I was very lucky to have such helpful and compliant ribbon, because I was able to snip the ends, pull them apart like string cheese, and make 4 narrow ribbons out of one piece. Nice, since I needed to thread it through small holes.
Each hole got two ribbons tied on one side, and two ribbons tied on the other, and they curled very nicely without much help from me, but for a couple of strips here and there that had been tugged on a bit much while I was tying the knots.
Then it was a matter of coating the end of the dowel rod with enough glue to hold it, inserted between the two stars.
This was really fun and easy!
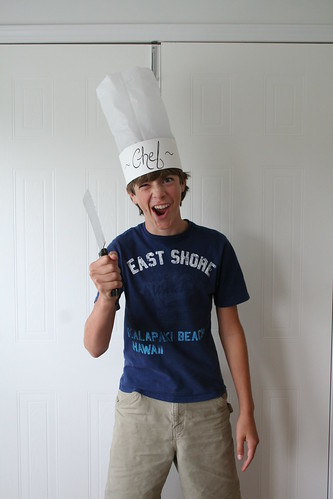
And a Chef's hat.
CHEF'S HAT
Poster board
White gift bag tissue
Heavy duty clear tape
Scotch tape
Paper clips
I cut a 4 inch wide strip of poster board, using the longest side, so it would fit around a head, with extra for overlap.
On this, I taped the long edge of the tissue with clear package tape.
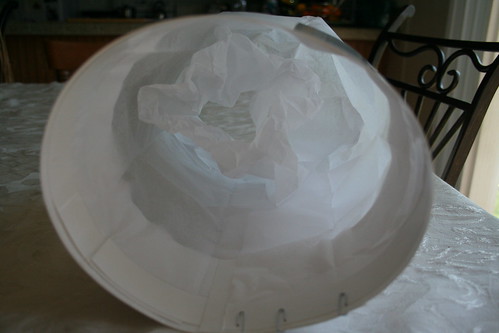
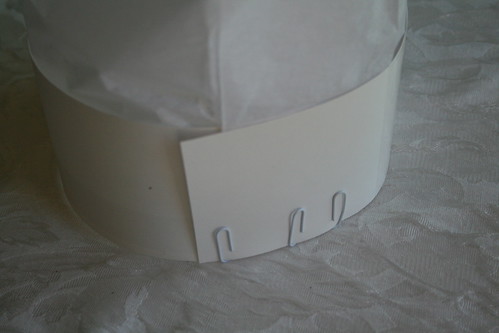
Then I pulled the ends around together, and paper clipped them, making an adjustable head band.
The tissue was gently scotch taped together here and there to close the gaps, and then tucked down inside itself to the height I wanted the hat.
A quick flourish of the permanent marker ~
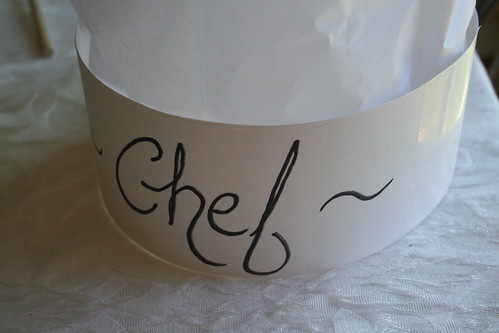
and ~ Voila!
I'm in Paris!
~Faith
.
Very creative and cute ideas*wink*, thanks for sharing!
ReplyDeletePraying your week is filled with blessings,
Kelle
Cute, i like the stars- looks like a fun bit of crafting!
ReplyDeleteKelle,
ReplyDeleteThanks! It was fun to use them.
~Faith
Icebear,
ReplyDeleteThanks! Felt like a kid again. :o)
~Faith